Post written by Lea Mikkelsen, Early Childhood Coordinator & Charlotte Conway, Public Programs Coordinator.
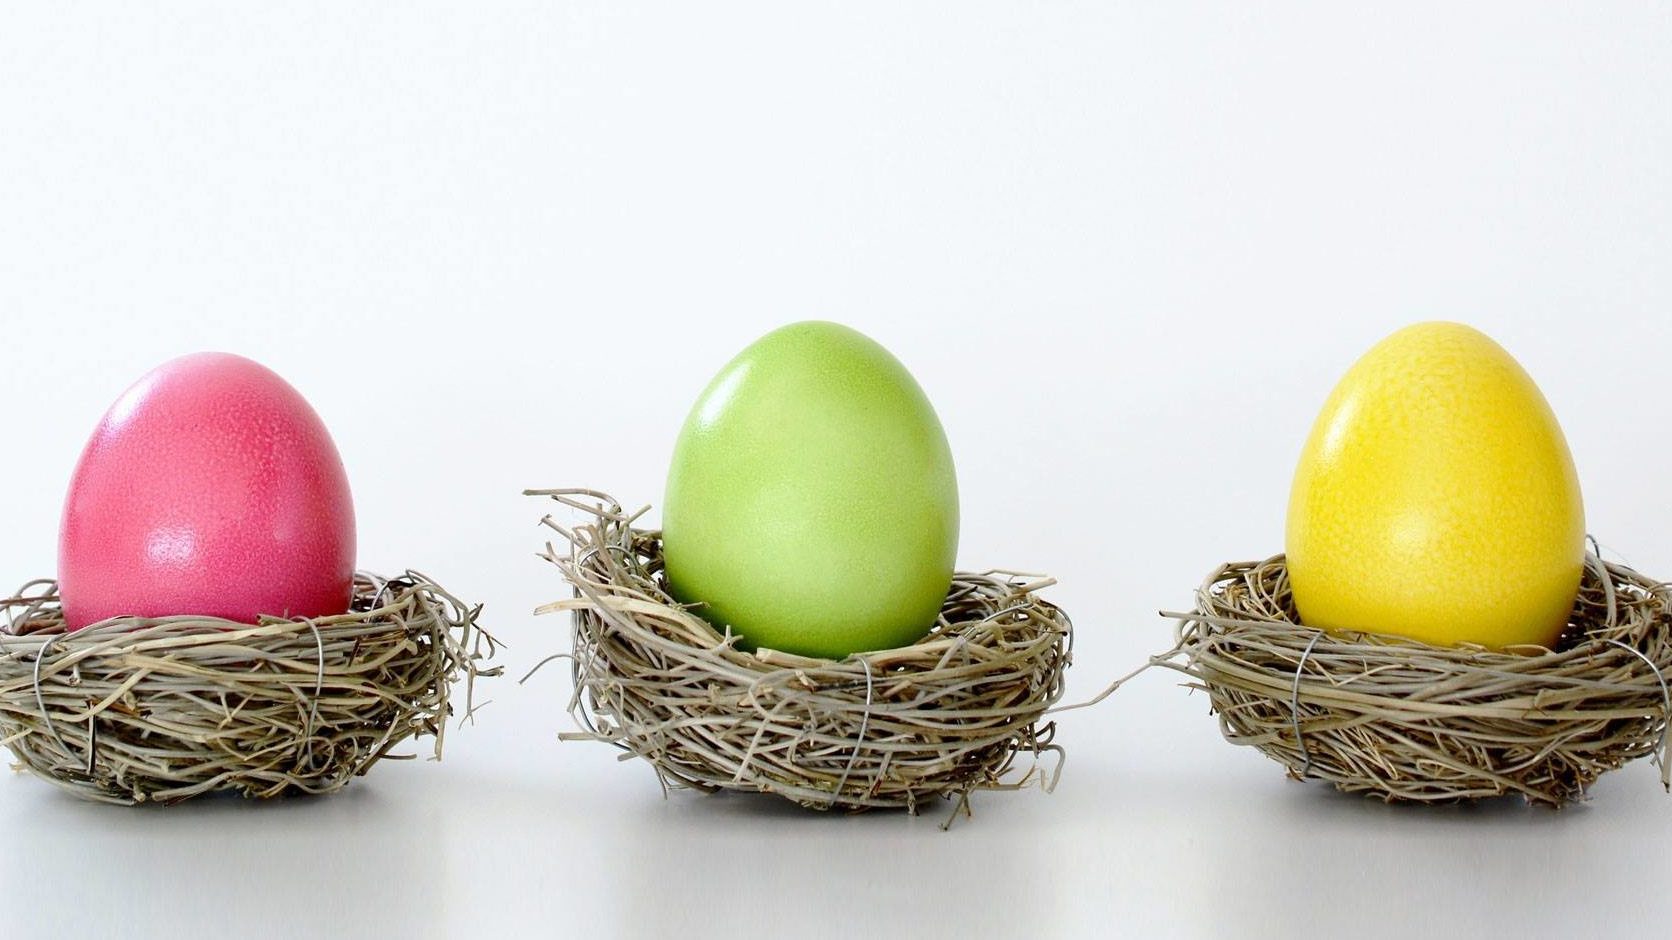
Daily Discovery: Egg-cellent Egg-tivities – Part 2
Let’s learn all about eggs! What are eggs, anyway? What animals do they come from? What are the different parts made of? What can we do with eggs?
Glowing Egg
People who raise chicks use a technique called candling to determine if an egg is fertilized and has a chick growing inside of it. Your eggs from your refrigerator at home will not have a chick growing inside, but this is a really neat way to look inside an egg!
Supplies:
- One egg
- Flashlight
- Dark room
Instructions:
- Hold the egg gently in your hand (or ask an adult to help you) and press the flashlight carefully against the eggshell.
- Carefully rotate the egg to see it from different angles.
- What can you see? Do you see the spots in the egg shell? Do you see the air cell?
a. The egg shell is almost entirely composed of calcium carbonate. There are pores in the egg shell that allow some breathability to the shell.
b. The air cell forms when the egg is laid. You can see where the air cell was when you look at the flat end of a boiled egg.
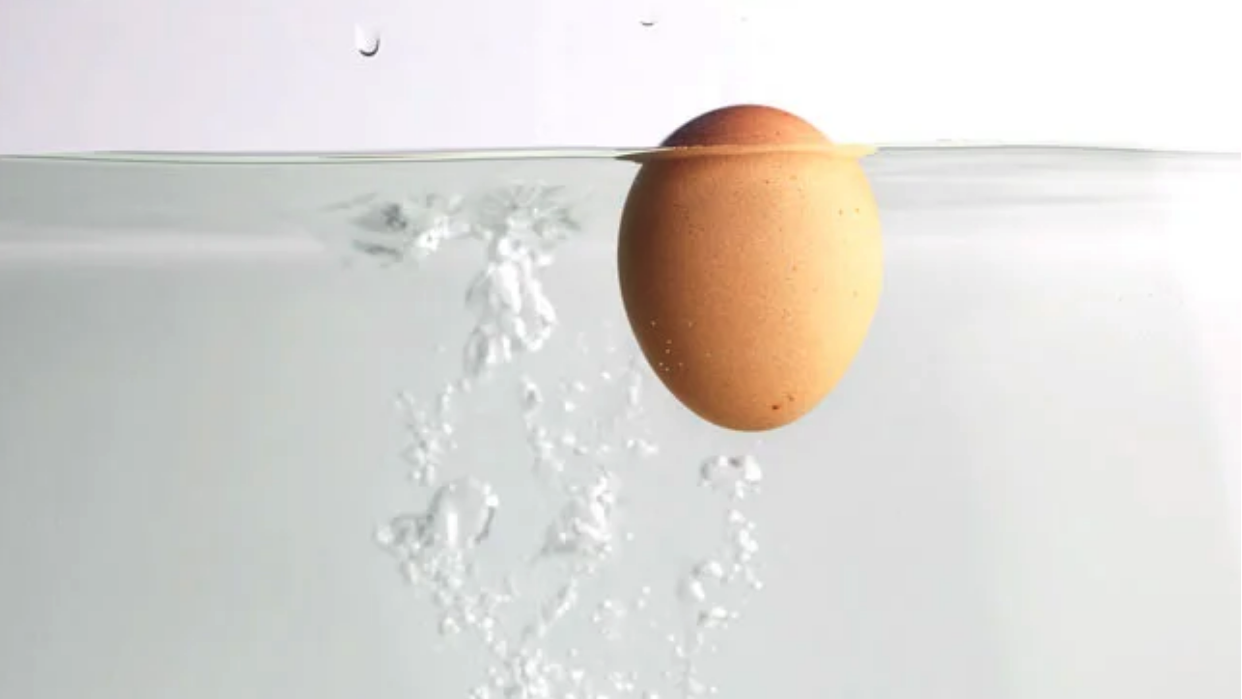
Floating Egg
Learn about density and buoyancy through this floating egg experiment. Don’t forget to make your hypothesis about what will happen to each egg!
Supplies:
- Two eggs
- Water
- Two tall drinking glasses
- Three tablespoons of salt
Instructions:
- Fill one glass ¾ of the way with water.
- Make a hypothesis about what will happen to the first egg.
- Carefully place the egg into the glass of water and observe. What happened to the egg?
- Fill a second glass ¾ of the way with water.
- Add 3 tablespoons of salt and stir.
- Make a hypothesis about what will happen to the second egg.
- Carefully place the second egg into the second glass of water and observe. What happened to the egg?
Tip: If an egg floats in water without adding salt, the egg is likely old. The air cell has grown inside the egg, making it buoyant. Check the egg for a bad smell before you eat it.
Want to download these directions? Click here for a handy PDF!
Follow along with our Daily Discovery! Click here for all activities that you can do at home.
Image credit: bonappetit.com