Post written by Lea Mikkelsen, Early Childhood Coordinator & Charlotte Conway, Public Programs Coordinator.
Daily Discovery: Egg-cellent Egg-tivities – Part 1
Let’s learn all about eggs! What are eggs, anyway? What animals do they come from? What are the different parts made of? What can we do with eggs?
Egg Carton Art
Save that egg carton! It can be upcycled and turned into so many amazing things. You can cut it, glue it, build with it, paint it, use it to hold small loose things like beads or pretty rocks. There are endless possibilities!
This activity will show you how to cut apart an egg carton to make upcycled flowers. Share your egg carton creations with #dailydiscovery!
Supplies:
- Egg carton(s)
- Scissors
- Glue, decorative paper, paint, paintbrush (optional)
Instructions:
- Ask an adult to help you cut out the center pointy pieces of the egg carton. Be sure to leave plenty of the “petals” on them.
- Use the scissors to cut out the petals of the flower. Try cutting them in different shapes!
- Cut a long sturdy stem piece with a little tab on one end from a flat part of the egg carton.
- Make a hole in the base of the flower and thread your stem through the hole with the tab resting inside the flower. That will keep the stem from sliding out of the flower. Optional: use glue to keep the stem in the flower.
- Use paint (if you have some) to decorate your flowers. Be creative! You can also use paper to make leaves or more petals on the flower. Let the flowers dry and then pop them in a vase to bring cheer!
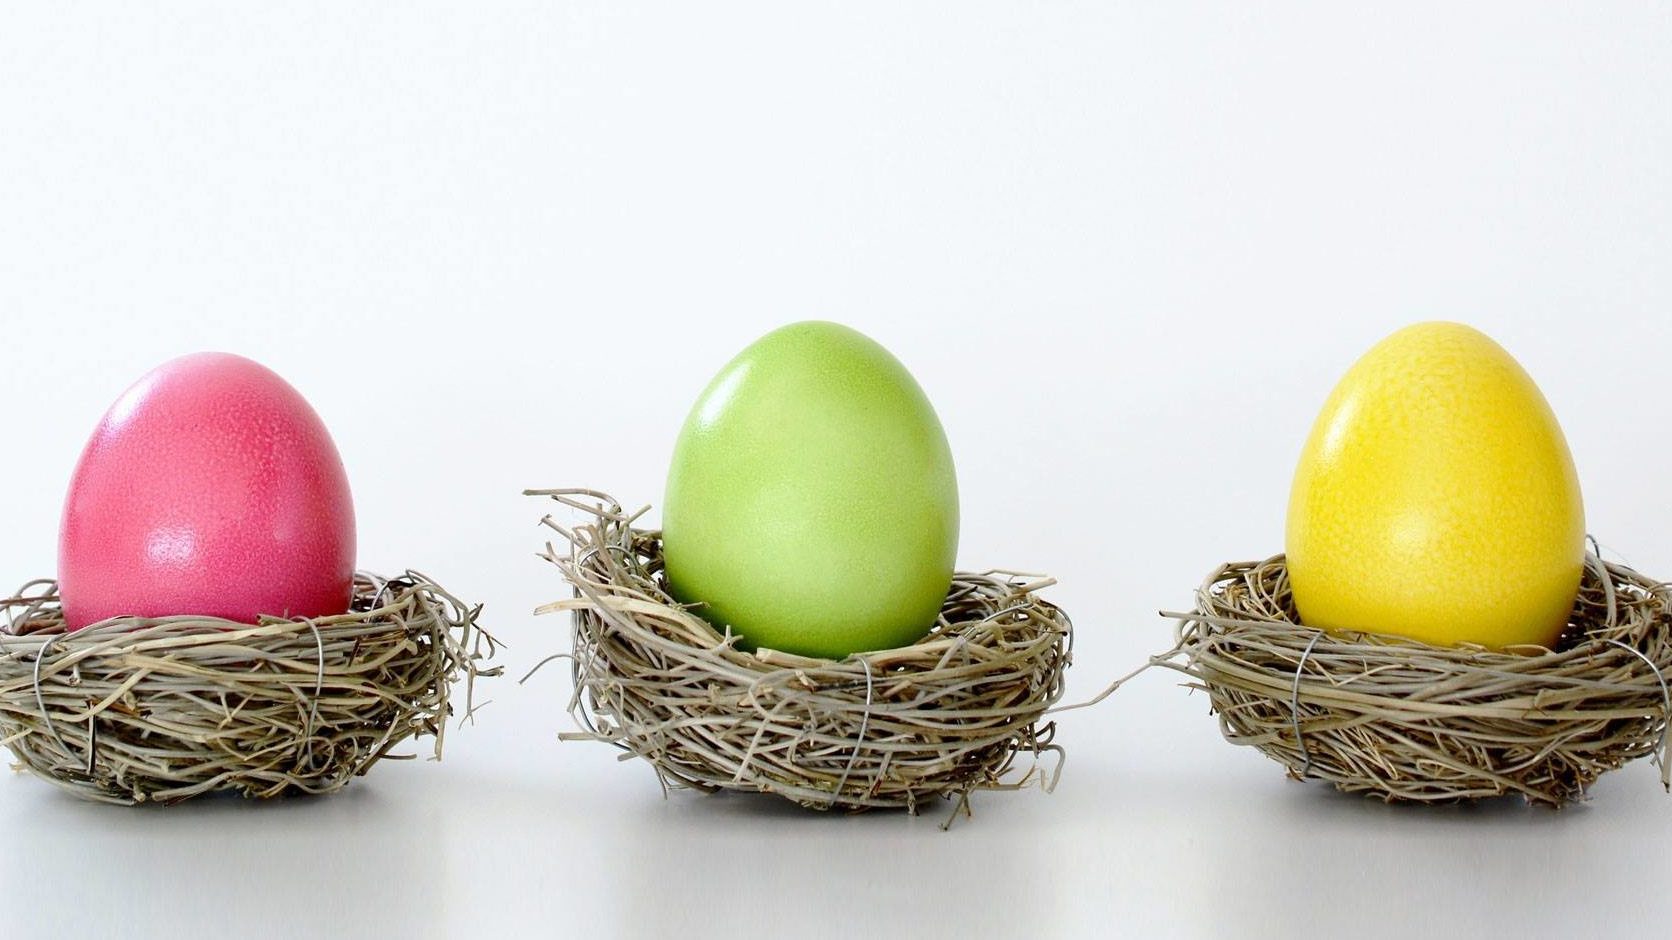
Natural Egg Dying: Cooking with Science!
Experiment with these natural dyes to make beautiful, colorful eggs that are totally edible! The best part is, you can make these dyes using items you have in your kitchen, and you don’t have to waste any food in the process.
Adult supervision is required for this activity.
Supplies:
- Hard-boiled eggs
- Saucepan
- Water
- White Vinegar
- Clean kitchen or paper towels
- Slotted spoon
- Small bowls
- Cheesecloth, fine sieve, or strain
- Natural dying materials from your kitchen (Suggestions: beets, ground turmeric, coffee, spinach, yellow onion skins, red cabbage, yellow delicious apple peels)
Instructions:
- Gather materials for your natural dyes. This is a great opportunity to reduce, reuse, and recycle! Try using your kitchen waste like yellow onion skins, any stale coffee, or apple peels for dyes! If you use fresh produce, like a beet or red cabbage, think about how you might eat the boiled vegetables afterwards.
- Now comes the fun part! Experimenting with different natural materials can produce surprising colors, and don’t hold back from mixing 2 or more materials together to achieve new colors.
- Prepare your natural materials into liquid dyes according to which materials you are using. Always use adult supervision when you are using the stove or chopping vegetables.
a. For the whole vegetables, like red cabbage or beets, chop them into smaller pieces first(around one inch). Place 1 cup of desired material in your saucepan and cover with 1 quart of water. Simmer the mixture for 30 minutes, or until desired color is achieved. Strain mixture and reserve the liquid.
b. For the spinach, onion skins, or apple peels, place about 2 cups of desired material in saucepan and cover with 1 quart of water. Simmer the mixture for 30 minutes, or until desired color is achieved. Strain the mixture and reserve the liquid.
c. For the ground turmeric, place 2 tablespoons of turmeric in 1 quart of water. Simmer the mixture for 30 minutes. Strains the mixture if you are using cheesecloth, otherwise, don’t worry about straining. Reserve the liquid.
d. If you are using stale coffee, there are no preparations needed. Skip ahead to the next step! - Place reserved liquids in individual small bowls. Stir in 2 tablespoons of white vinegar per every cup of liquid dye.
- Retrieve your hard-boiled eggs when you are ready to dye. Make sure to keep them refrigerated at all times when you are not using them!
- Use a slotted spoon to slowly lower your hard-boiled egg into desired color dye. Refrigerate the bowl to let the dye soak into the eggshell.
- Time for the big reveal! After at least 30 minutes, use your slotted spoon to remove the egg from the dye.
- Pat the egg dry using paper towels or a clean kitchen towel. To mix colors, you can soak an egg first in one colored dye for 30 minutes or more, followed by a second soak in another colored dye for 30 minutes to an hour. Get creative and experiment with different soak times and color mixtures to achieve a whole spectrum of colors!
a. Note that natural dyes will produce a subtler color than artificial dyes. For more vibrant natural colors, you can soak your eggs in the refrigerator overnight. - Store the colored eggs in an egg carton in the refrigerator until you are ready for an egg-celent snack.
Want to download these directions? Click here for a handy PDF!
Follow along with our Daily Discovery! Click here for all activities that you can do at home.