Post written by Hannah Curtis, Education Assistant.
Daily Discovery: Explore your State – Spelunking!
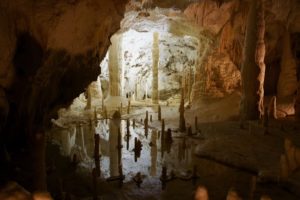
The recreational past-time hobby of cave exploration! It’s not every day you get to explore around in a dark, musky, million-year-old, nature made cavern, but when you do, you may be surprised what you see inside! Let’s explore together the history of caves in Colorado, and learn how they were formed!
History of Caves!
Spelunking, or caving, has been a hobby of enthusiasts as early as 1895 and became a part of important scientific explorations and research. Through caving, we know more about geological process and ecosystem science. Cave environments are fragile and animals that live in them can be easily disturbed. Cave formations can be damaged by the lightest touch and even one’s breath. Cave dwelling species such as cave shrimp and bats thrive in the constant temperature and humidity of caves and bats will use caves to hibernate during the winter season. Too much human contact inside caves with these species can be damaging to the cave environment and these vulnerable species.
You can visit a variety of caves throughout Colorado, but Cave of the Winds and the Glenwood Caverns are historically fascinating and beautiful. Cave of the Winds was founded in 1881 by two brothers, George and John Pickett, but the cave systems are millions of years old! After it’s discovery and continued excavation, tours of the cave began to the public and even electricity was installed in 1907. These caves are one of Colorado’s oldest and famous attractions!
Inside Iron Mountain, Glenwood Caverns is more than 16,000 feet long, and was opened to visitors in 1895 by Charles W. Darrow and his family, who homesteaded at the top of the mountain near the cave entrance.
Cave Formation!
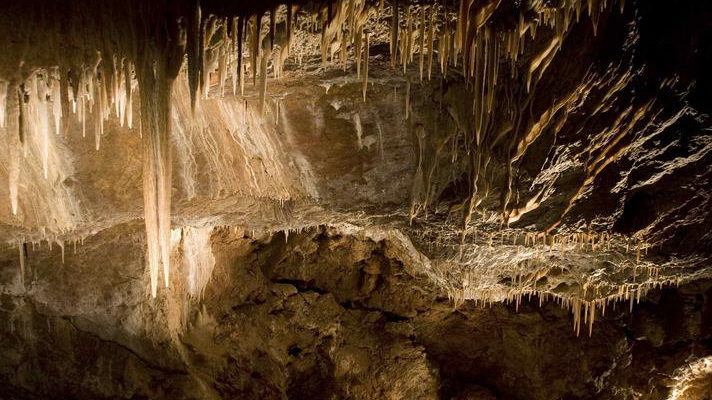
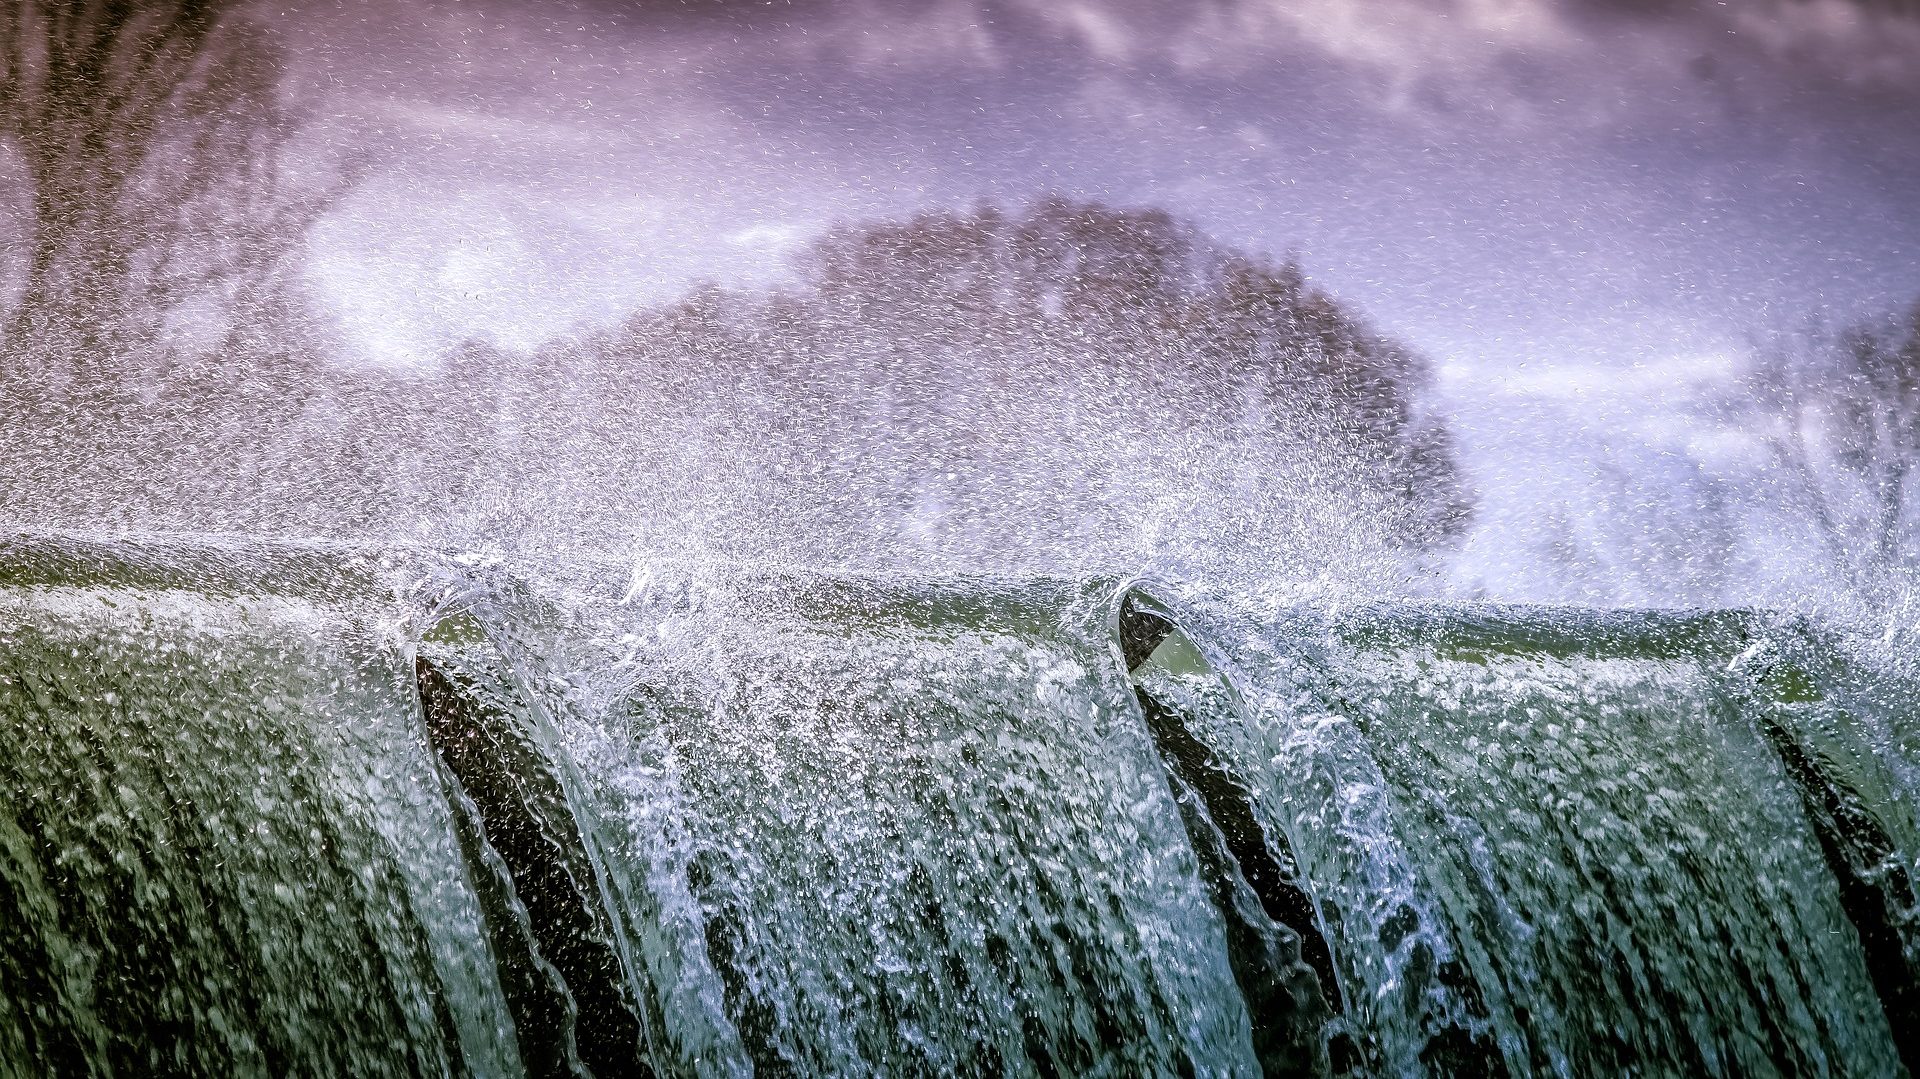
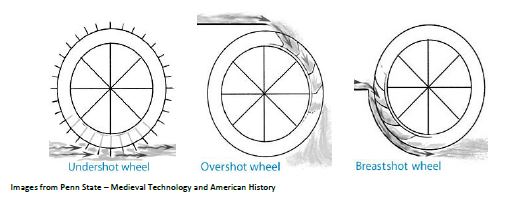
The formation of caves is called speleogenesis, and it can happen under a variety of geological processes. They can be formed through chemical or water erosion, by tectonic forces, microorganisms, or pressure and atmospheric changes. The types of caves most often formed and many of the ones found in Colorado are called Karst Caves. These caves are made from limestone, which dissolves in acidic solutions such as groundwater that hold organic acids. Over time, this acidic ground water seeps through cracks, faults or joints in the ground dissolving the limestone and eventually enlarges into a cave.
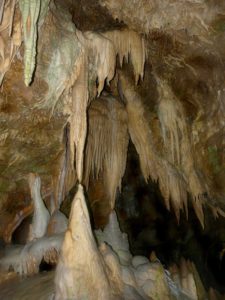
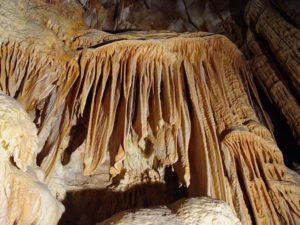
This process continues inside the cave forming mineral deposits called speleothems. There are many different types of speleothems, some you may be familiar with. Stalactites are mineral deposit that form on the roof of caves when dissolved calcium bicarbonate (dissolved limestone) drips and crystalizes back into limestone, similar to how an icicle is formed in the winter. A stalagmite may form underneath a stalactite when the drippings fall to the cave floor and deposits the limestone into a cone shaped mound. You can usually find stalactites and stalagmites together, and they may even grow so large that they may combine into one big column. Other speleothems are flowstones, helictites, or soda straws, which all form in unique way based on how the calcium carbonate flows through down cave walls and ceiling.
Grow your own Stalactite and Cave Diorama!
Supplies:
Stalactite Formation
- 2 plastic cups
- String or yarn
- Epsom salt, sugar or baking soda
- Water
- Paper
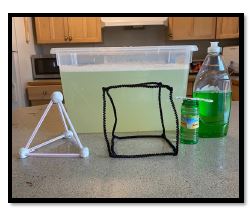
Cave Diorama
- Cardboard box
- Modeling clay
- Colored paper
- Natural elements (rocks, stones, grass, dirt)
- Markers
- Recycled materials (egg cartons, bottle caps, etc).
- Glue or tape
Instructions:
- To begin forming your stalactite, heat up a quart of water on a stove. Make sure to have guardian supervision for this step.
- Once hot, pour your choice of Epsom salt, sugar or baking soda to the pot, stirring to dissolve. Continue adding gradually until you have dissolved 3 cups of your solvent. (Note: you can dissolve without hot water, this speeds up the process and allows you to dissolve more into your solution).
- Pour equal parts into the two cups.
- Cut a piece of string around 1 foot.
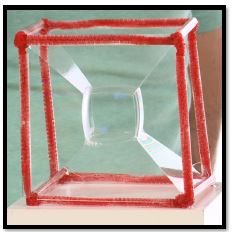
- On top of a piece of paper or paper plate, drape each end of the yarn into the cups so that each end is completely submerged. You can weigh your string down using a paper clip.
- Between the cups allow the string to slack in the middle creating a dip, this is where your stalactite will form forming.
- Over the course of a few hours to a few days the water will move from the cups to the string and begin dripping and crystalizing.
- If you wish, begin constructing your cave using materials you have handy in your home. If you wish to put your newly forming stalactite into your cave, use the flaps of a cardboard box to hide the cups and only your stalactite showing.
Want to download these directions? Click here for a handy PDF!
Follow along with our Daily Discovery! Click here for all activities that you can do at home.
Image Credit: uncovercolorado.com
Educational opportunities like this are supported in part by Fort Fund.

Continue Reading