Daily Discovery: Polly Brinkhoff

Post written by Archive & Collections team.

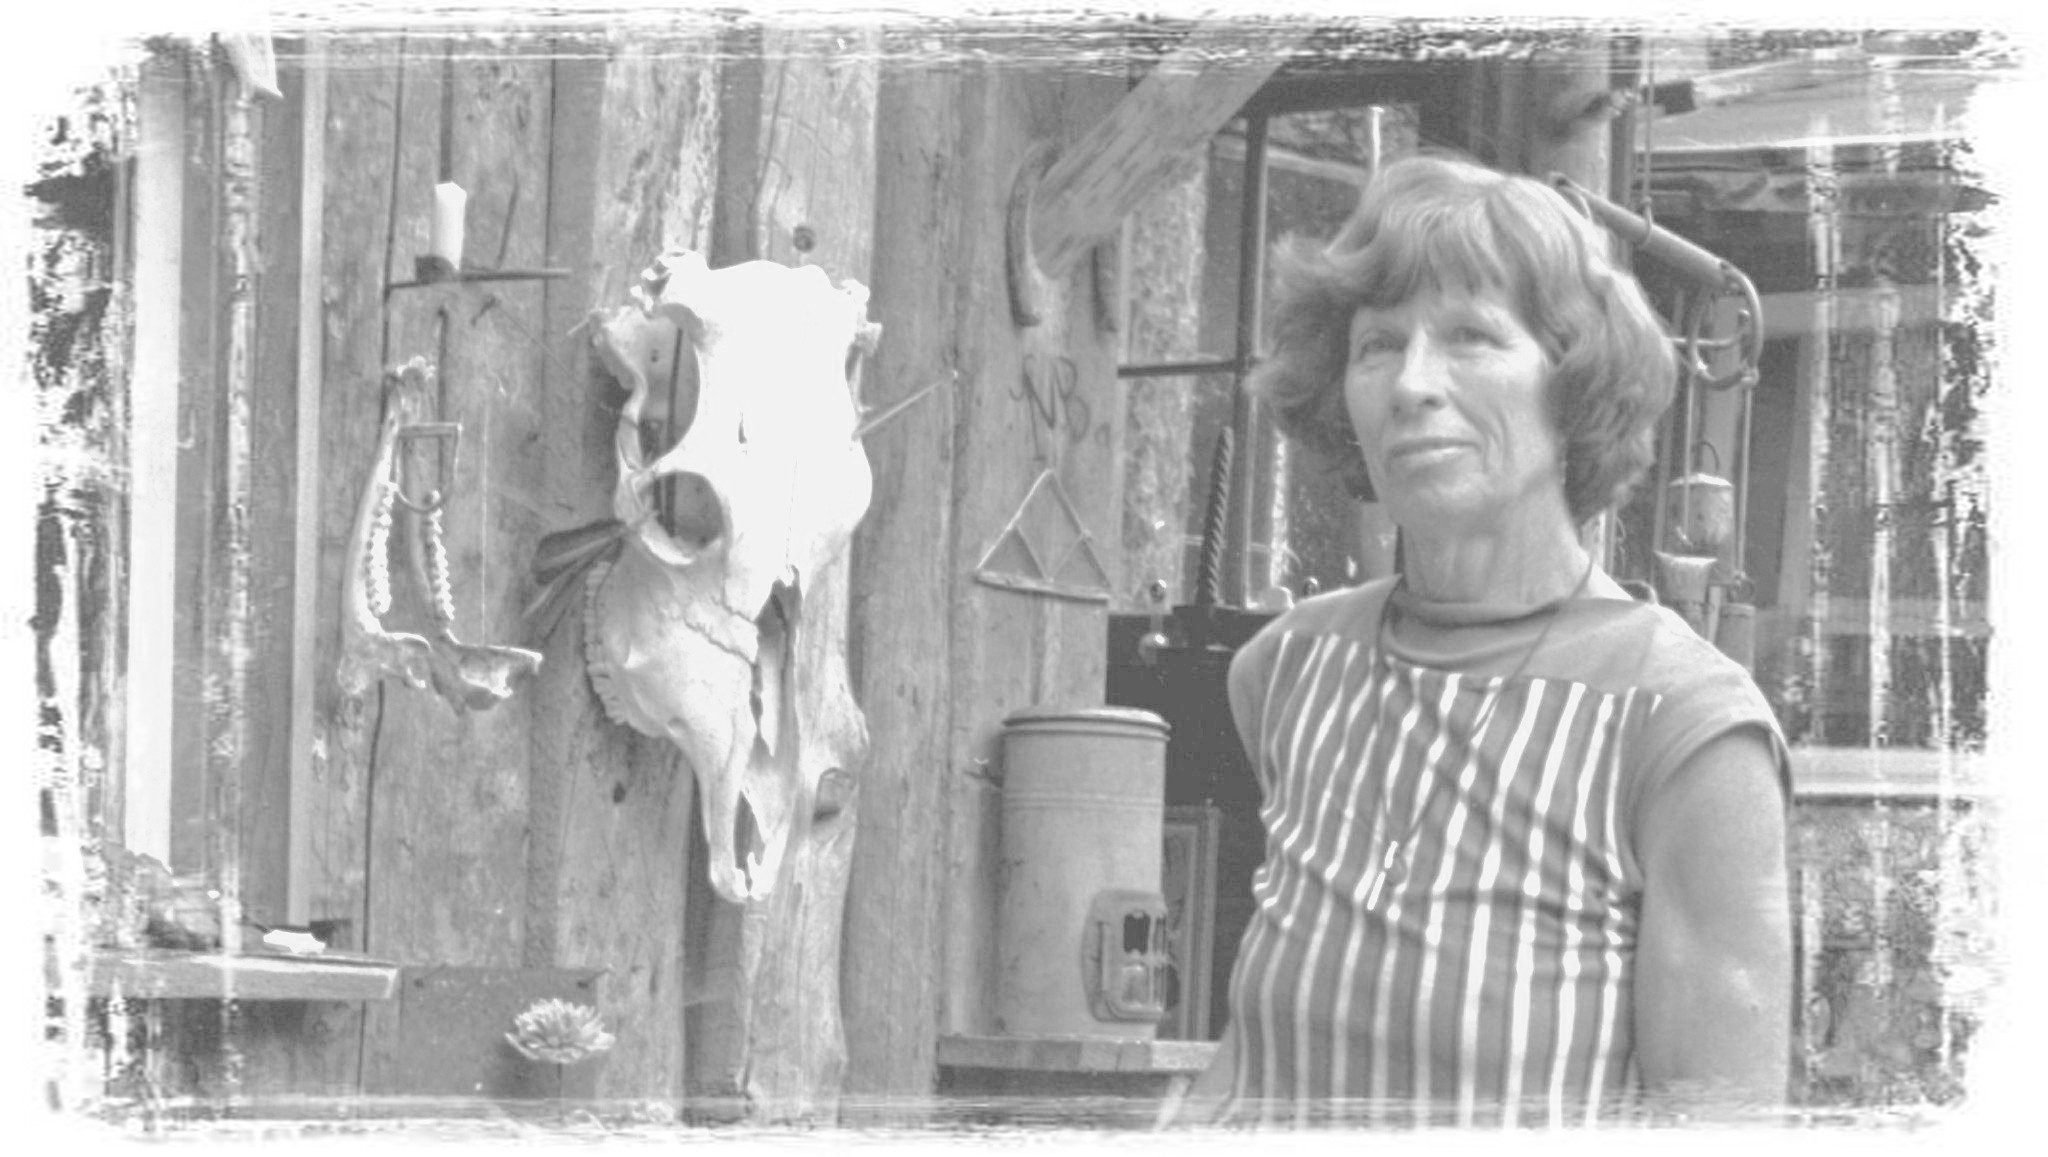
Daily Discovery: Polly Brinkhoff

Get Inspired!

In celebration of the 100th anniversary of the ratification of the 19th Amendment, we’re highlighting the paths of local women in Fort Collins history with a series of video presentations created by the Archive & Collections staff at Fort Collins Museum of Discovery.

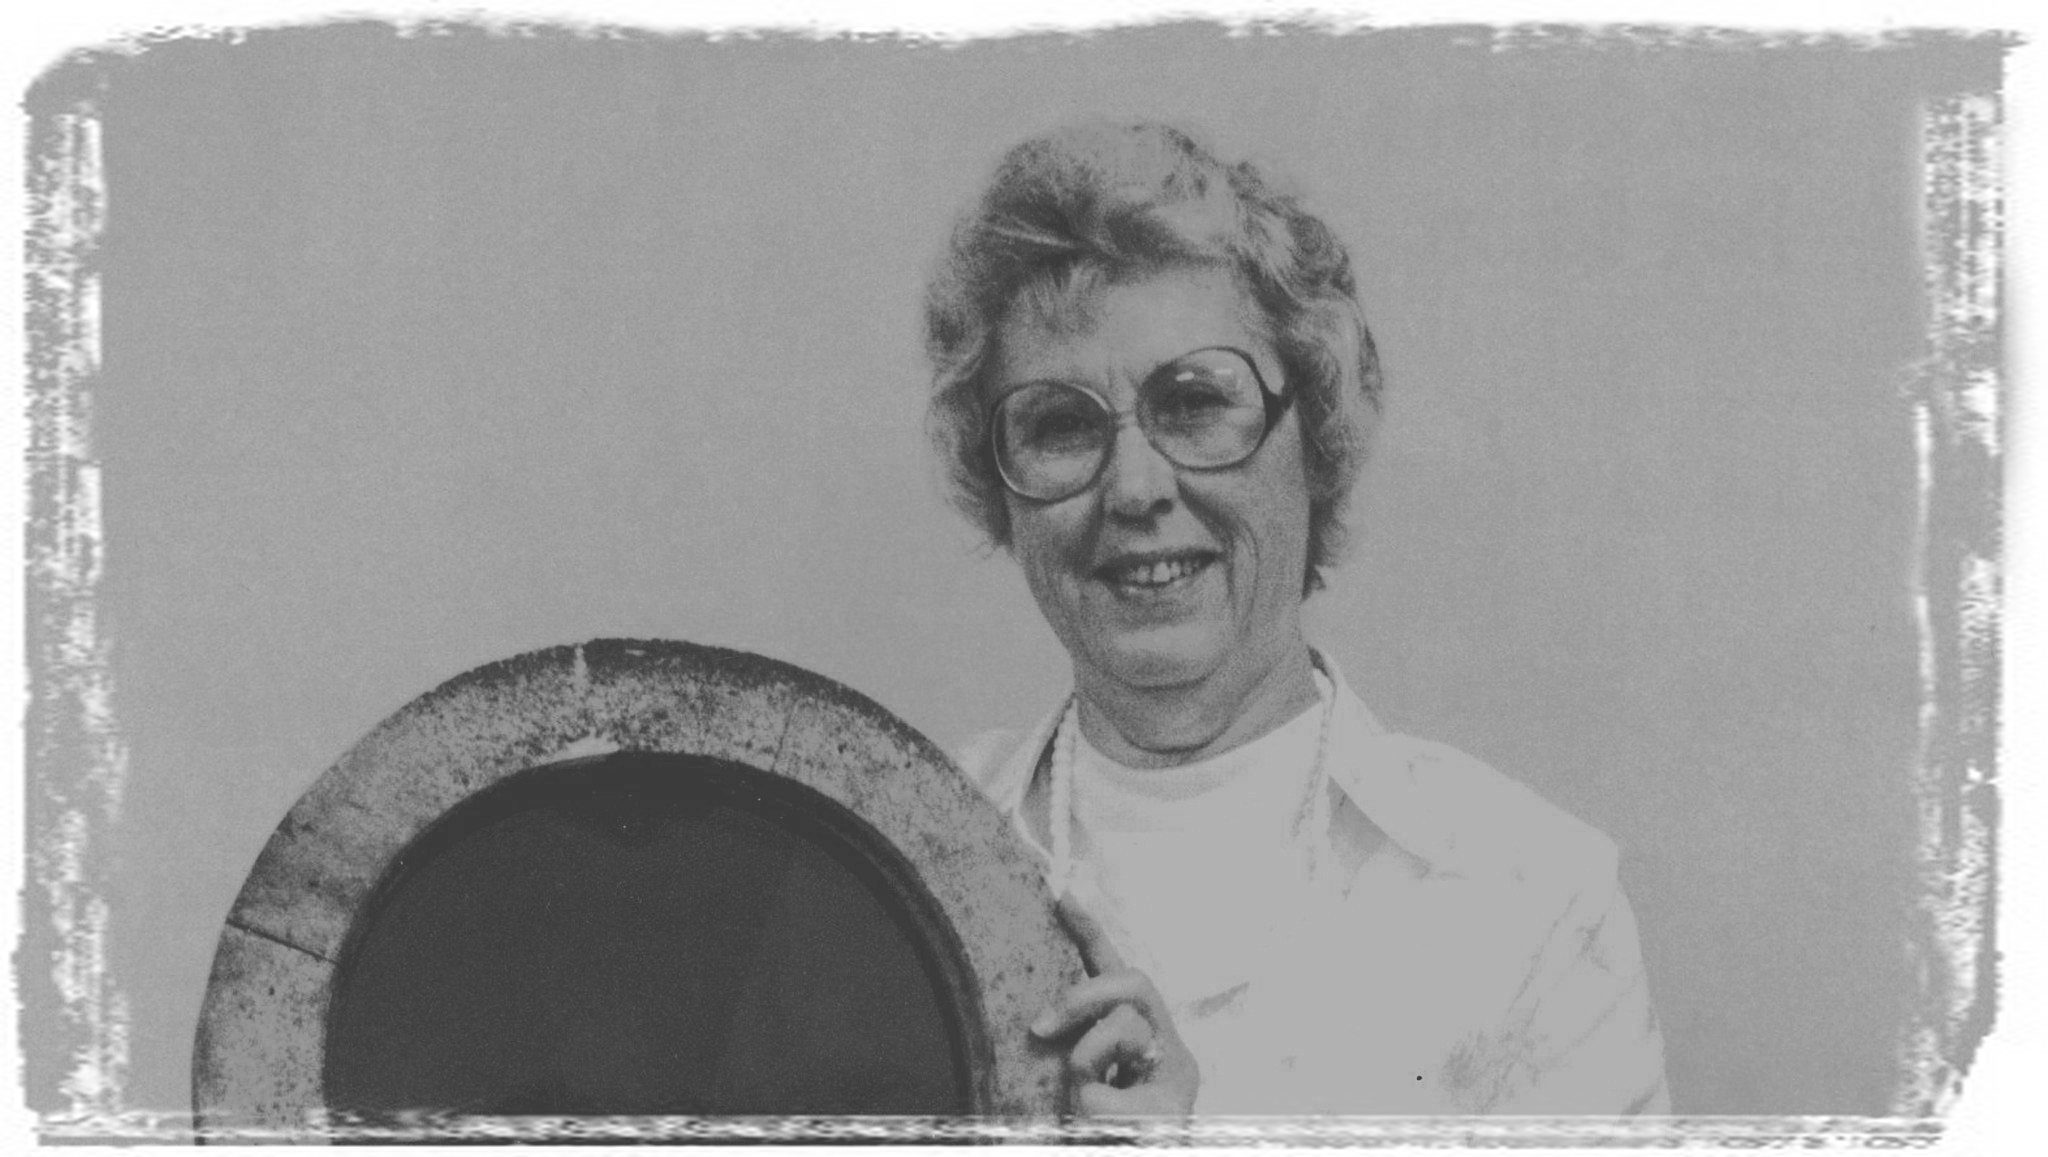
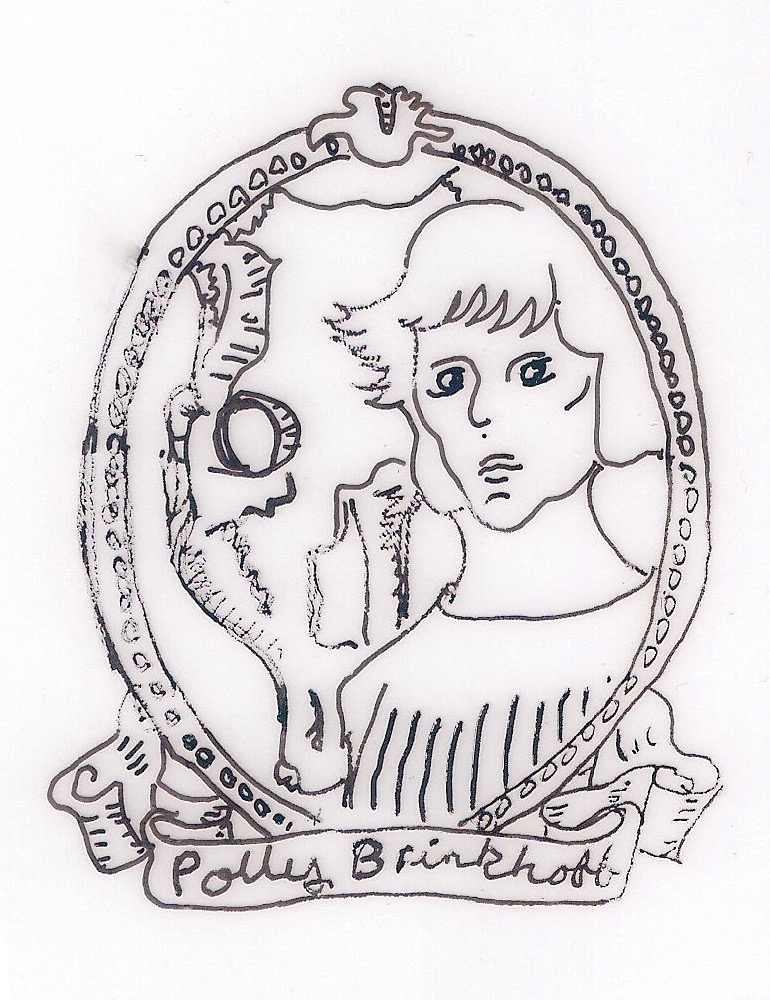
Today Curator of Collections Linda Moore will present on Polly Brinkhoff, artist and long-time resident of Skin Gulch off Poudre Canyon.

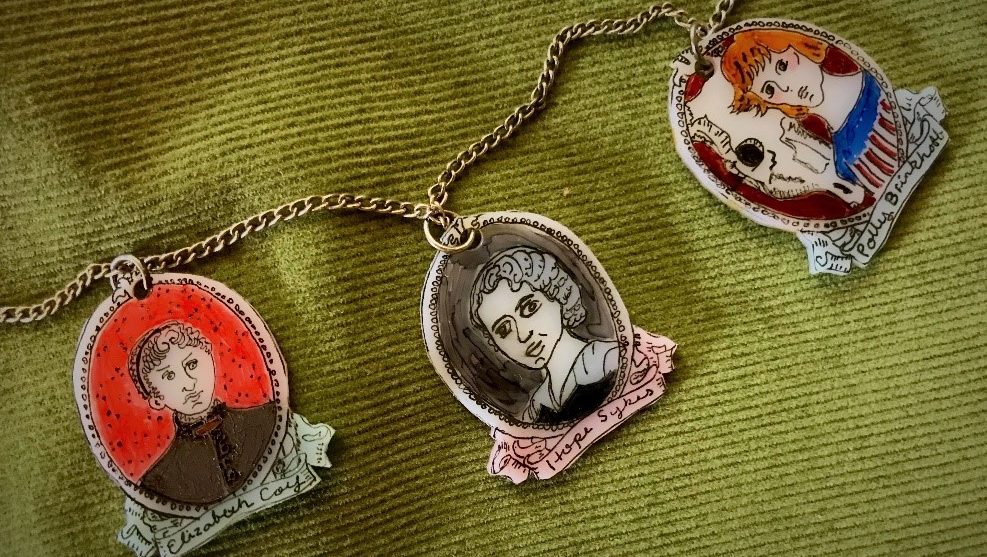
After you have learned about Polly Brinkhoff, be sure to create your very own shrink-plastic charm.

Click here to download the printable Polly Brinkhoff Charm.

Want to download the charm bracelet directions? Click here for a handy PDF!

Follow along with our Daily Discovery! Click here for all activities that you can do at home.

Educational opportunities like this are supported in part by Fort Fund.

Continue Reading

Daily Discovery: Elizabeth Coy

Post written by Archive & Collections team.

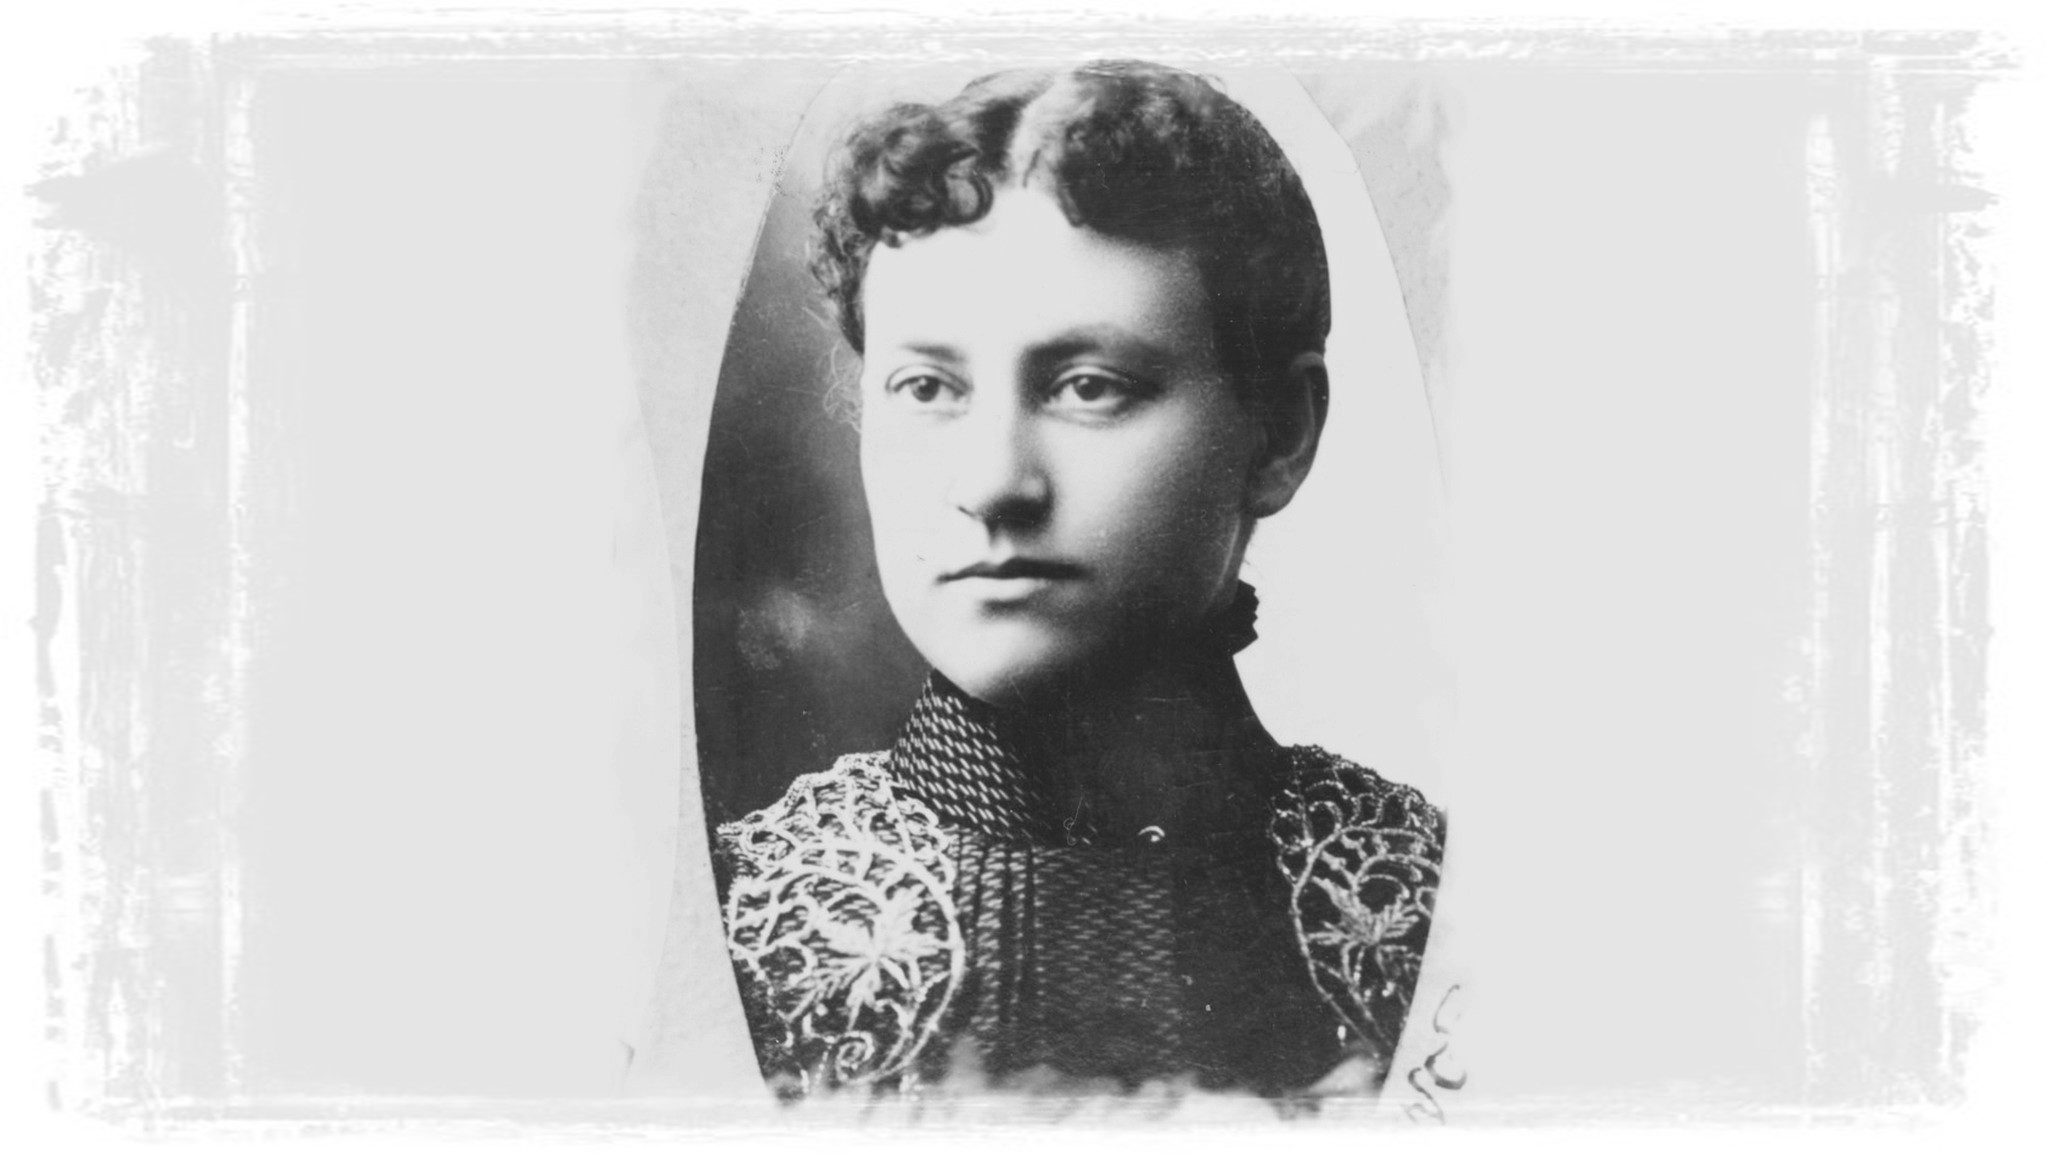
Daily Discovery: Elizabeth Coy

Get Inspired!

In celebration of the 100th anniversary of the ratification of the 19th Amendment, we’re highlighting the paths of local women in Fort Collins history with a series of video presentations created by the Archive & Collections staff at Fort Collins Museum of Discovery.

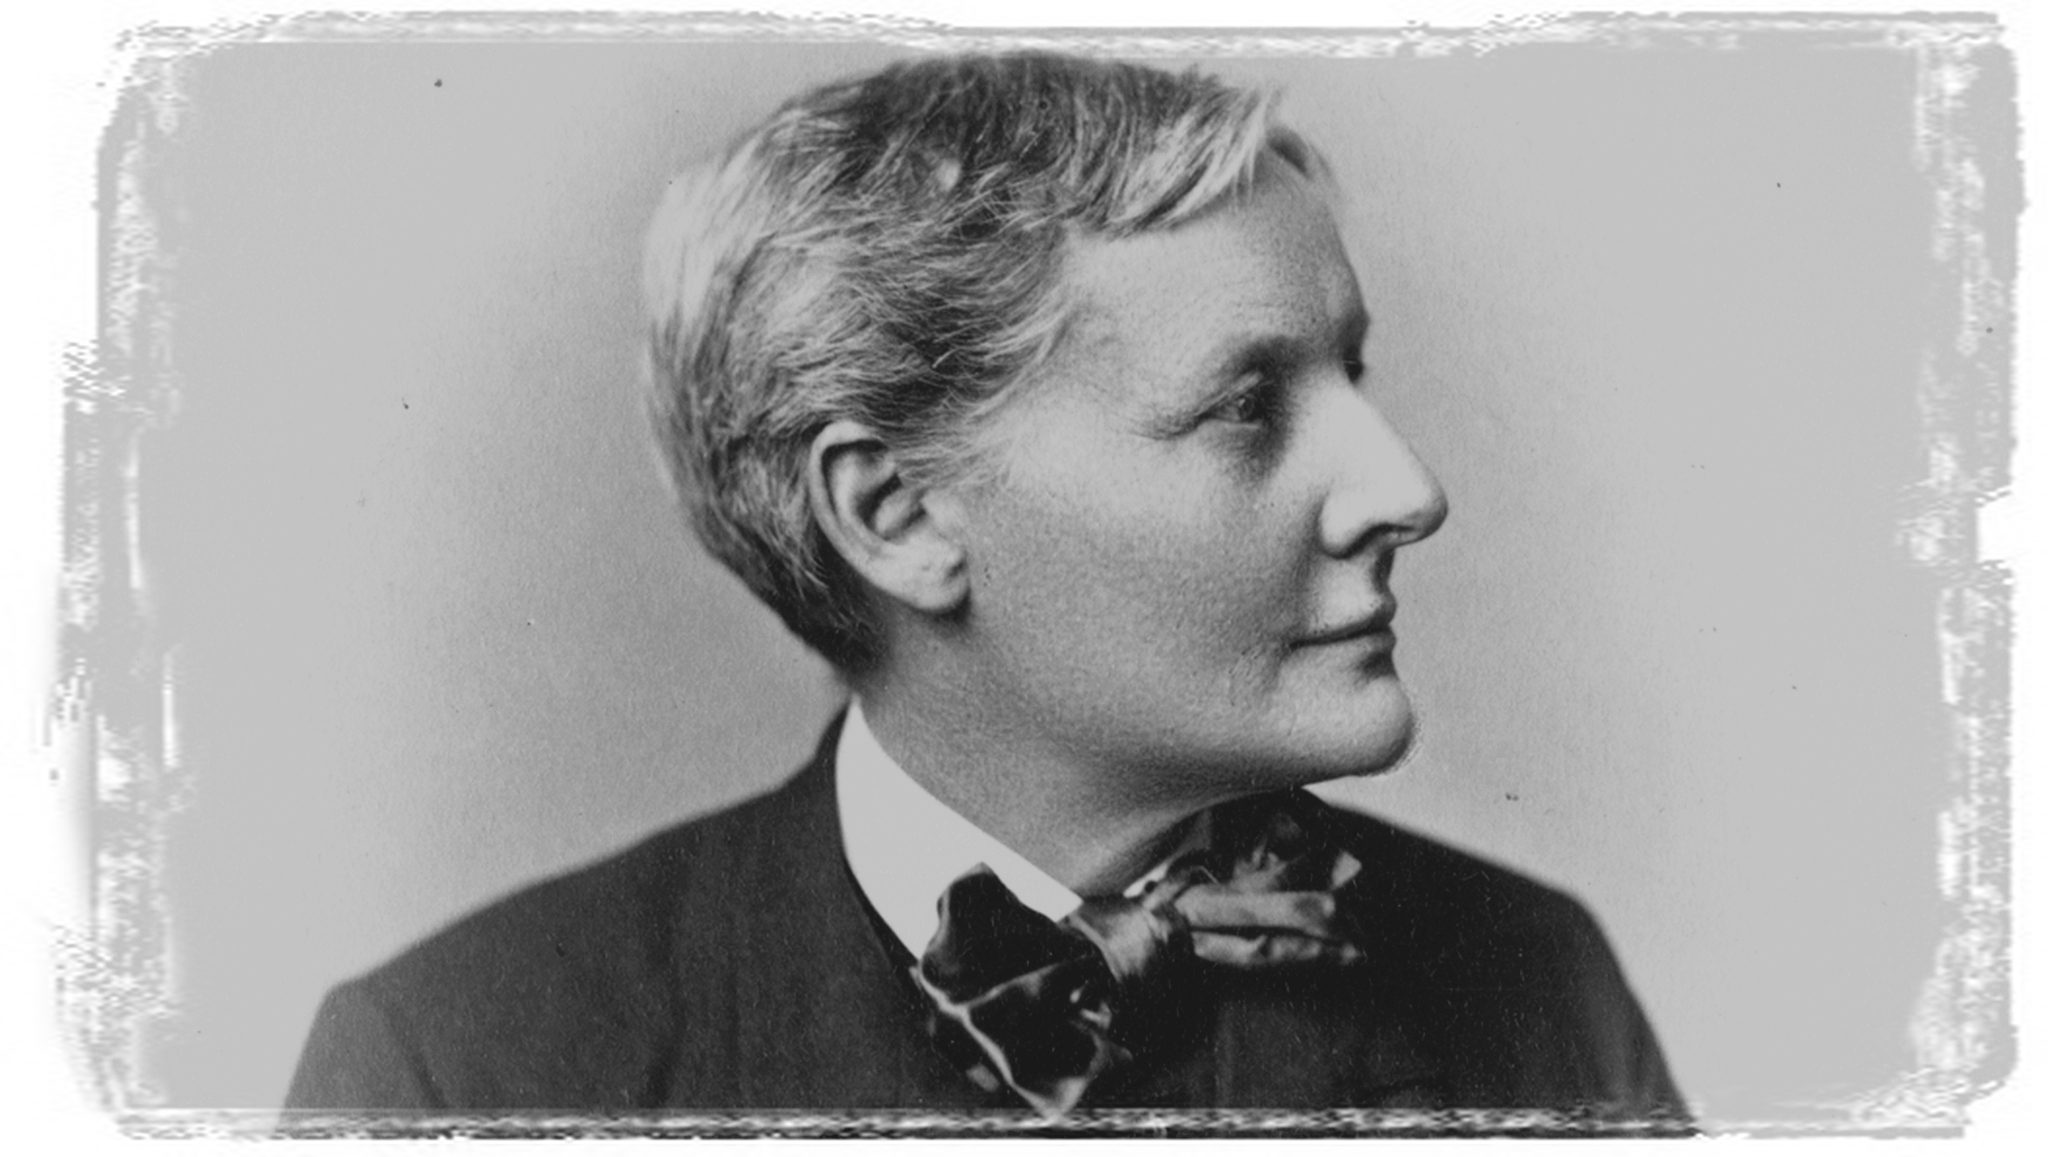
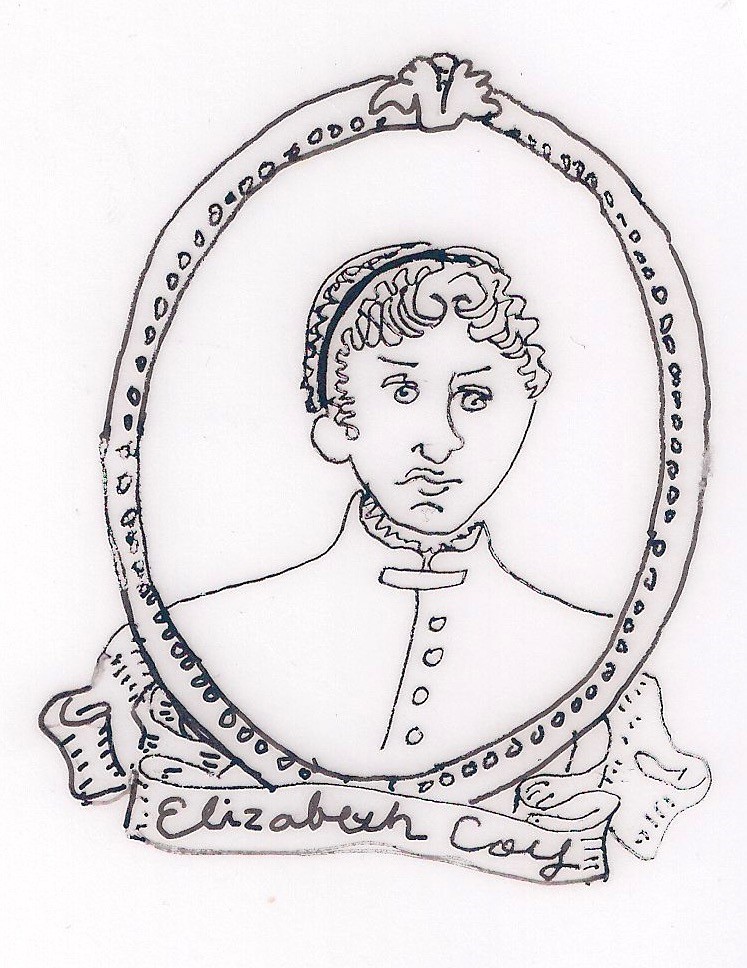
Today Museum Collections Assistant Morgan Wilson will speak about Elizabeth Coy, first woman to graduate from a Colorado institute of higher education.

After you have learned about Elizabeth Coy, be sure to create your very own shrink-plastic charm.

Click here to download the printable Elizabeth Coy Charm.

Want to download the charm bracelet directions? Click here for a handy PDF!

Follow along with our Daily Discovery! Click here for all activities that you can do at home.

Educational opportunities like this are supported in part by Fort Fund.

Continue Reading

Daily Discovery: Hattie McDaniel

Post written by Archive & Collections team.

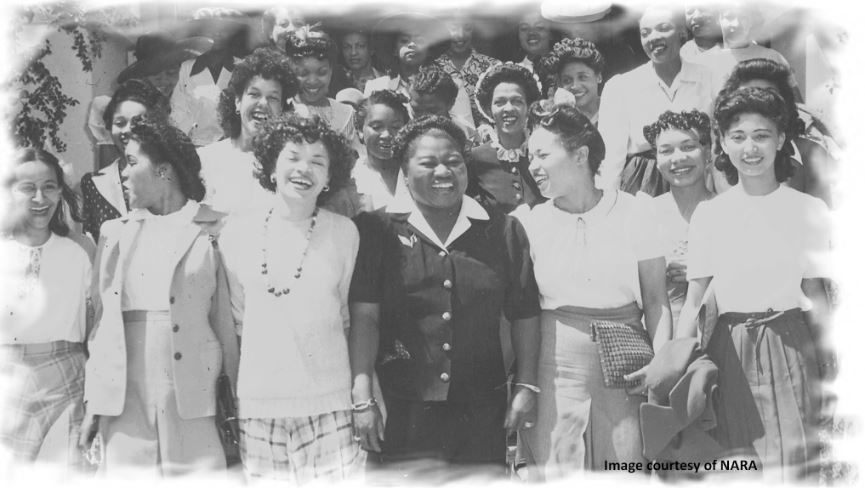
Daily Discovery: Hattie McDaniel

Get Inspired!

In celebration of the 100th anniversary of the ratification of the 19th Amendment, we’re highlighting the paths of local women in Fort Collins history with a series of video presentations created by the Archive & Collections staff at Fort Collins Museum of Discovery.

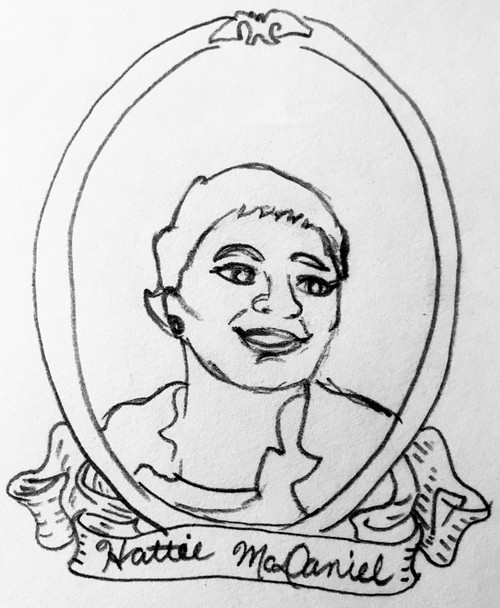
Today Archive Curator Lesley Struc will speak about Hattie McDaniel, Hollywood star who lived in Fort Collins as a child.

After you have learned about Hattie McDaniel, be sure to create your very own shrink-plastic charm.

Click here to download the printable Hattie McDaniel Charm.

Want to download the charm bracelet directions? Click here for a handy PDF!

Follow along with our Daily Discovery! Click here for all activities that you can do at home.

Image credit: NARA

Educational opportunities like this are supported in part by Fort Fund.

Continue Reading

Daily Discovery: Hope Sykes

Post written by Archive & Collections team.

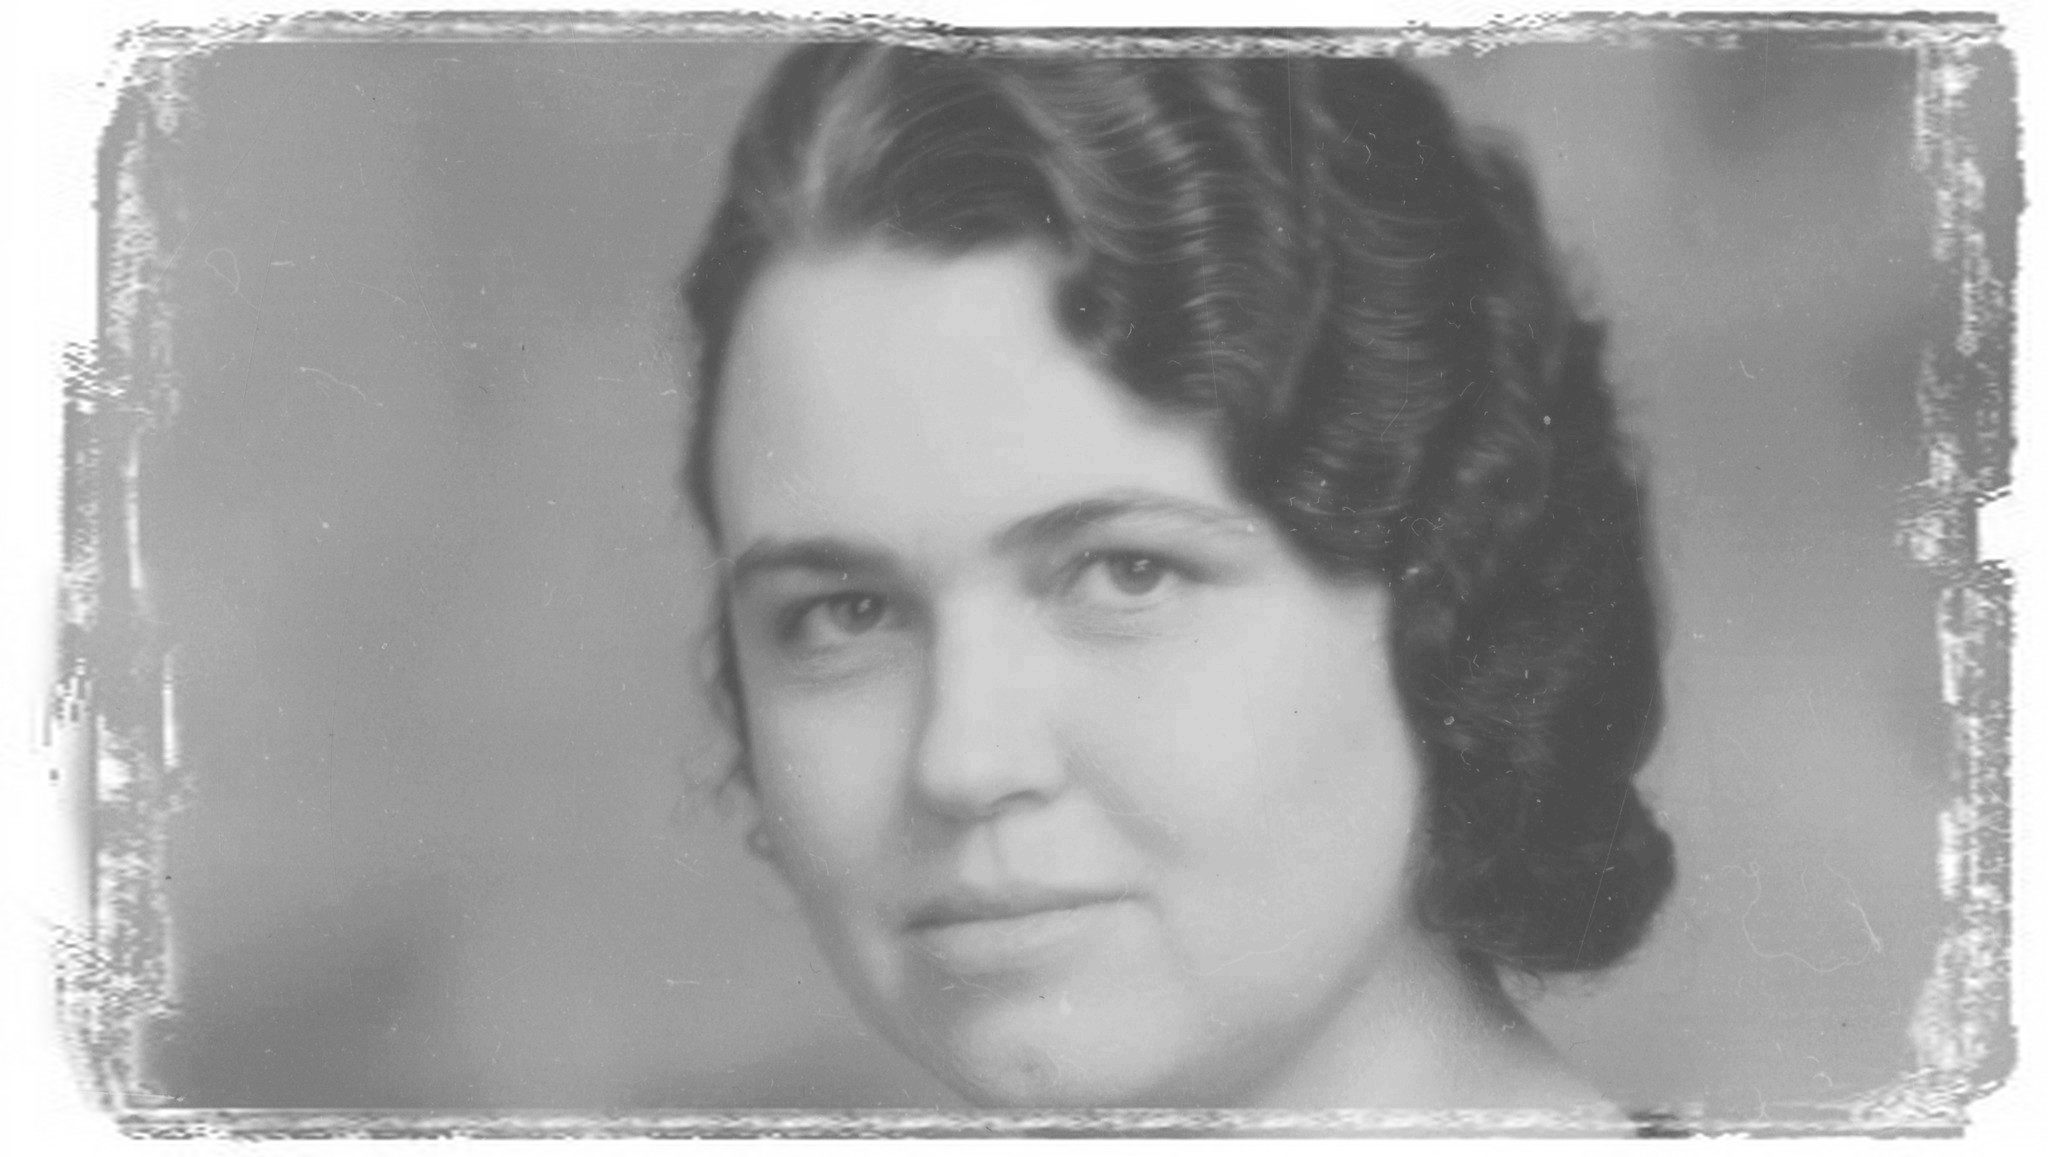
Daily Discovery: Hope Sykes

Get Inspired!

In celebration of the 100th anniversary of the ratification of the 19th Amendment, we’re highlighting the paths of local women in Fort Collins history with a series of video presentations created by the Archive & Collections staff at Fort Collins Museum of Discovery.

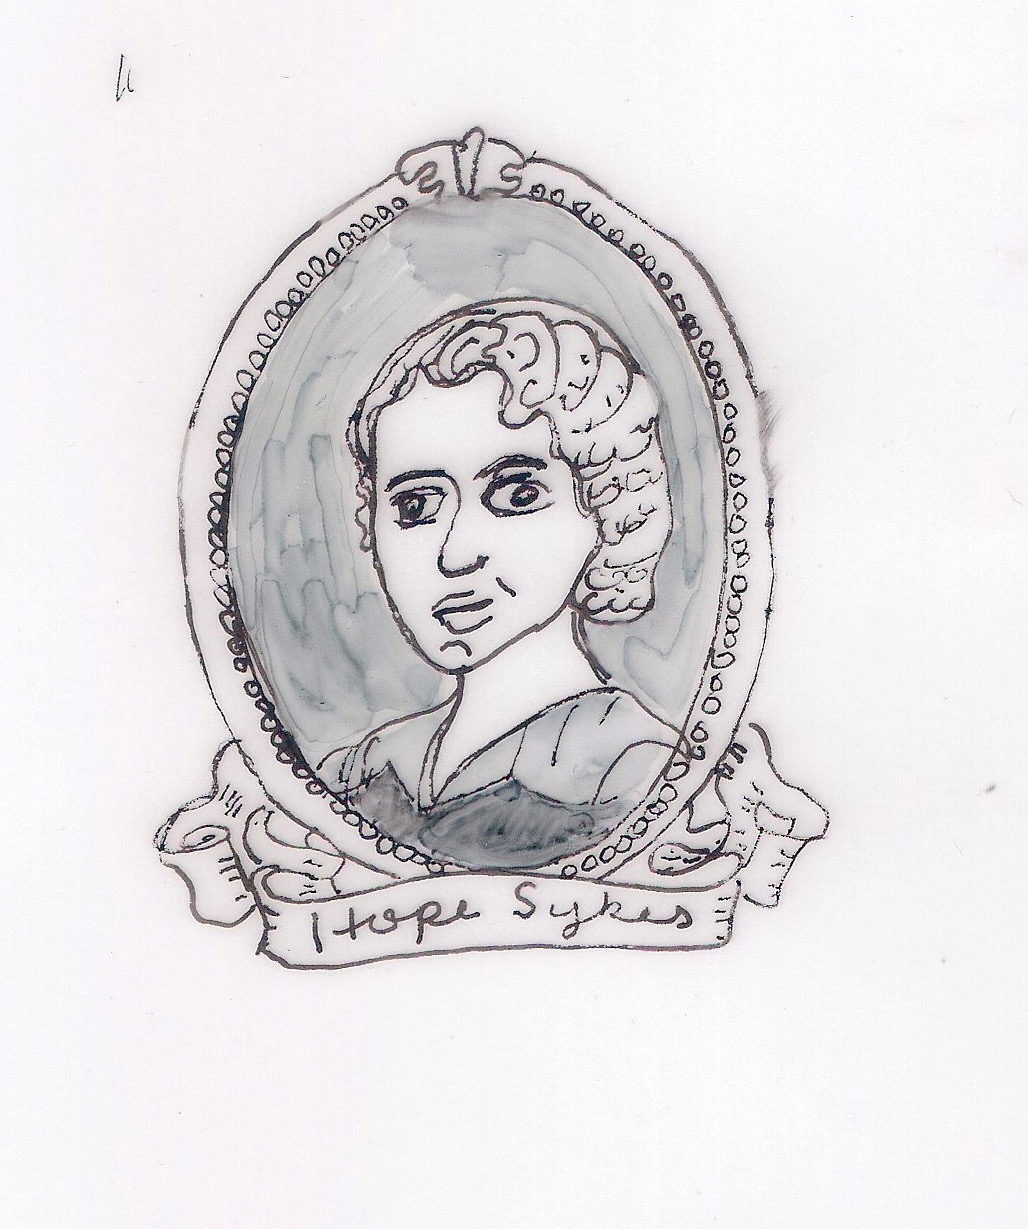
Today Archive Assistant Barbara Cline will present on Hope Sykes, author of the 1935 book Second Hoeing.

After you have learned about Hope Sykes, be sure to create your very own shrink-plastic charm.

Click here to download the printable Hope Sykes Charm.

Want to download the charm bracelet directions? Click here for a handy PDF!

Follow along with our Daily Discovery! Click here for all activities that you can do at home.

Educational opportunities like this are supported in part by Fort Fund.

Continue Reading

Daily Discovery: Elizabeth Case

Post written by Archive & Collections team.

Daily Discovery: Elizabeth Case

Get Inspired!

In celebration of the 100th anniversary of the ratification of the 19th Amendment, we’re highlighting the paths of local women in Fort Collins history with a series of video presentations created by the Archive & Collections staff at Fort Collins Museum of Discovery.

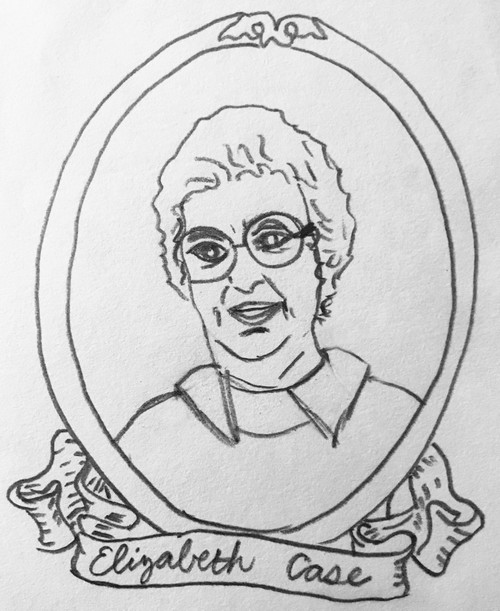
Today Archive Assistant Sarah Frahm will share stories about Elizabeth Case, Fort Collins volunteer extraordinaire!

After you have learned about Elizabeth Case, be sure to create your very own shrink-plastic charm.

Click here to download the printable Elizabeth Case Charm.

Want to download the charm bracelet directions? Click here for a handy PDF!

Follow along with our Daily Discovery! Click here for all activities that you can do at home.

Educational opportunities like this are supported in part by Fort Fund.

Continue Reading

Daily Discovery: Sara Ellis Eddy

Post written by Archive & Collections team.

Daily Discovery: Sara Ellis Eddy

Get Inspired!

In celebration of the 100th anniversary of the ratification of the 19th Amendment, we’re highlighting the paths of local women in Fort Collins history with a series of video presentations created by the Archive & Collections staff at Fort Collins Museum of Discovery.

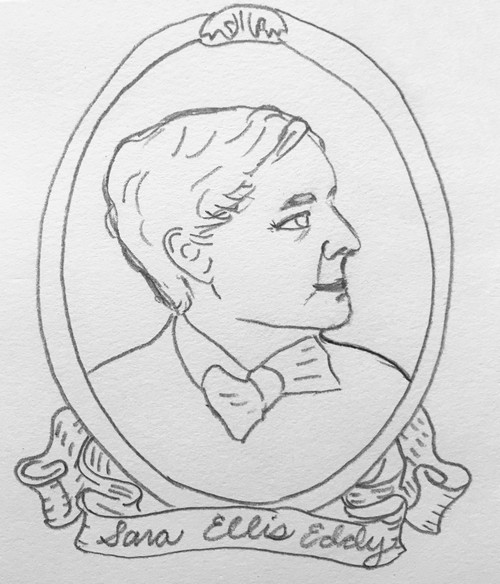
Today Archive Assistant Jenny Hannifin will introduce us to Sara Ellis Eddy, a Fort Collins businesswoman who lived here in the 1890s.

After you have learned about Sara Ellis Eddy, be sure to create your very own shrink-plastic charm.

Click here to download the printable Sara Ellis Eddy Charm.

Want to download the charm bracelet directions? Click here for a handy PDF!

Follow along with our Daily Discovery! Click here for all activities that you can do at home.

Educational opportunities like this are supported in part by Fort Fund.

Continue Reading

Daily Discovery: Making History with Our Local Legends – Shrink Plastic Charm Bracelet

Post written by Linda Moore, Museum Curator of Collections.

Daily Discovery: Making History with Our Local Legends – Shrink Plastic Charm Bracelet

Wearing charms to commemorate or celebrate people, places, or events important to you has a long history: there is archaeological evidence that charm bracelets were worn as long ago as 600 to 400 BCE! Celebrate the stories that FCMoD is presenting of some of our distinguished local women this month by using the templates that will accompany each presentation to create a charming piece of jewelry that will remind you of them every time you wear it!

Supplies:

  • Shrink Plastic
  • Template to trace (example on right)
  • Permanent markers
  • Hole punch
  • Metal cookie sheet
  • Foil to line cookie sheet
  • Oven
  • Jewelry findings of your choice

Instructions:

  1. Print out your template; a 2.5 inch original will create a 1.25 inch charm.
  2. Place your shrink plastic over the template and trace in permanent marker.
  3. Let outline dry completely, then add color.
  4. Cut your charm out. Punch a hole at the top! This is essential for adding it to a bracelet.
  5. Following the guidelines for your specific shrink plastic, preheat your oven.
  6. Place your plastic on a foil-lined cookie sheet, and once your oven is at temperature bake it for the time suggested for your plastic –about 3 minutes, so stand by!
  7. There you go, a perfectly charming portrait to add to your bracelet.

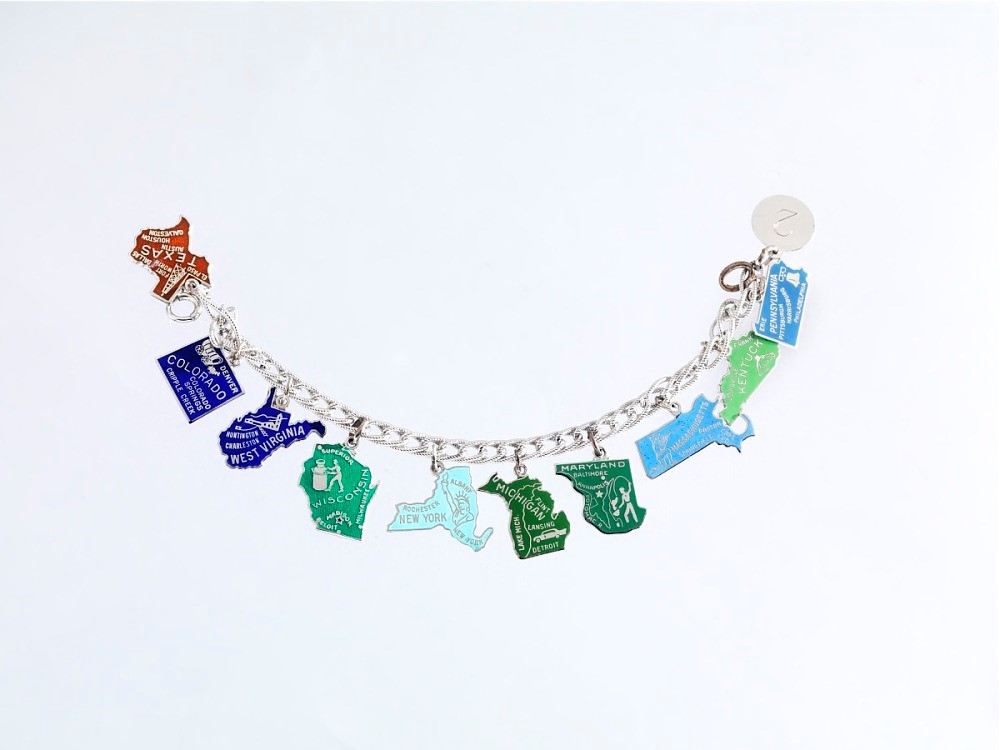
This charm bracelet, in the collection of the National Museum of American History, commemorates the effort to ratify the Equal Rights Amendment with charms added for each state that successfully ratified the amendment.

Want to download these directions? Click here for a handy PDF!

Follow along with our Daily Discovery! Click here for all activities that you can do at home.

Educational opportunities like this are supported in part by Fort Fund.

Continue Reading

Daily Discovery: Suffrage Flag Infinity Scarf

Post written by Morgan Wilson, Museum Assistant for Collections.

Daily Discovery: Suffrage Flag Infinity Scarf

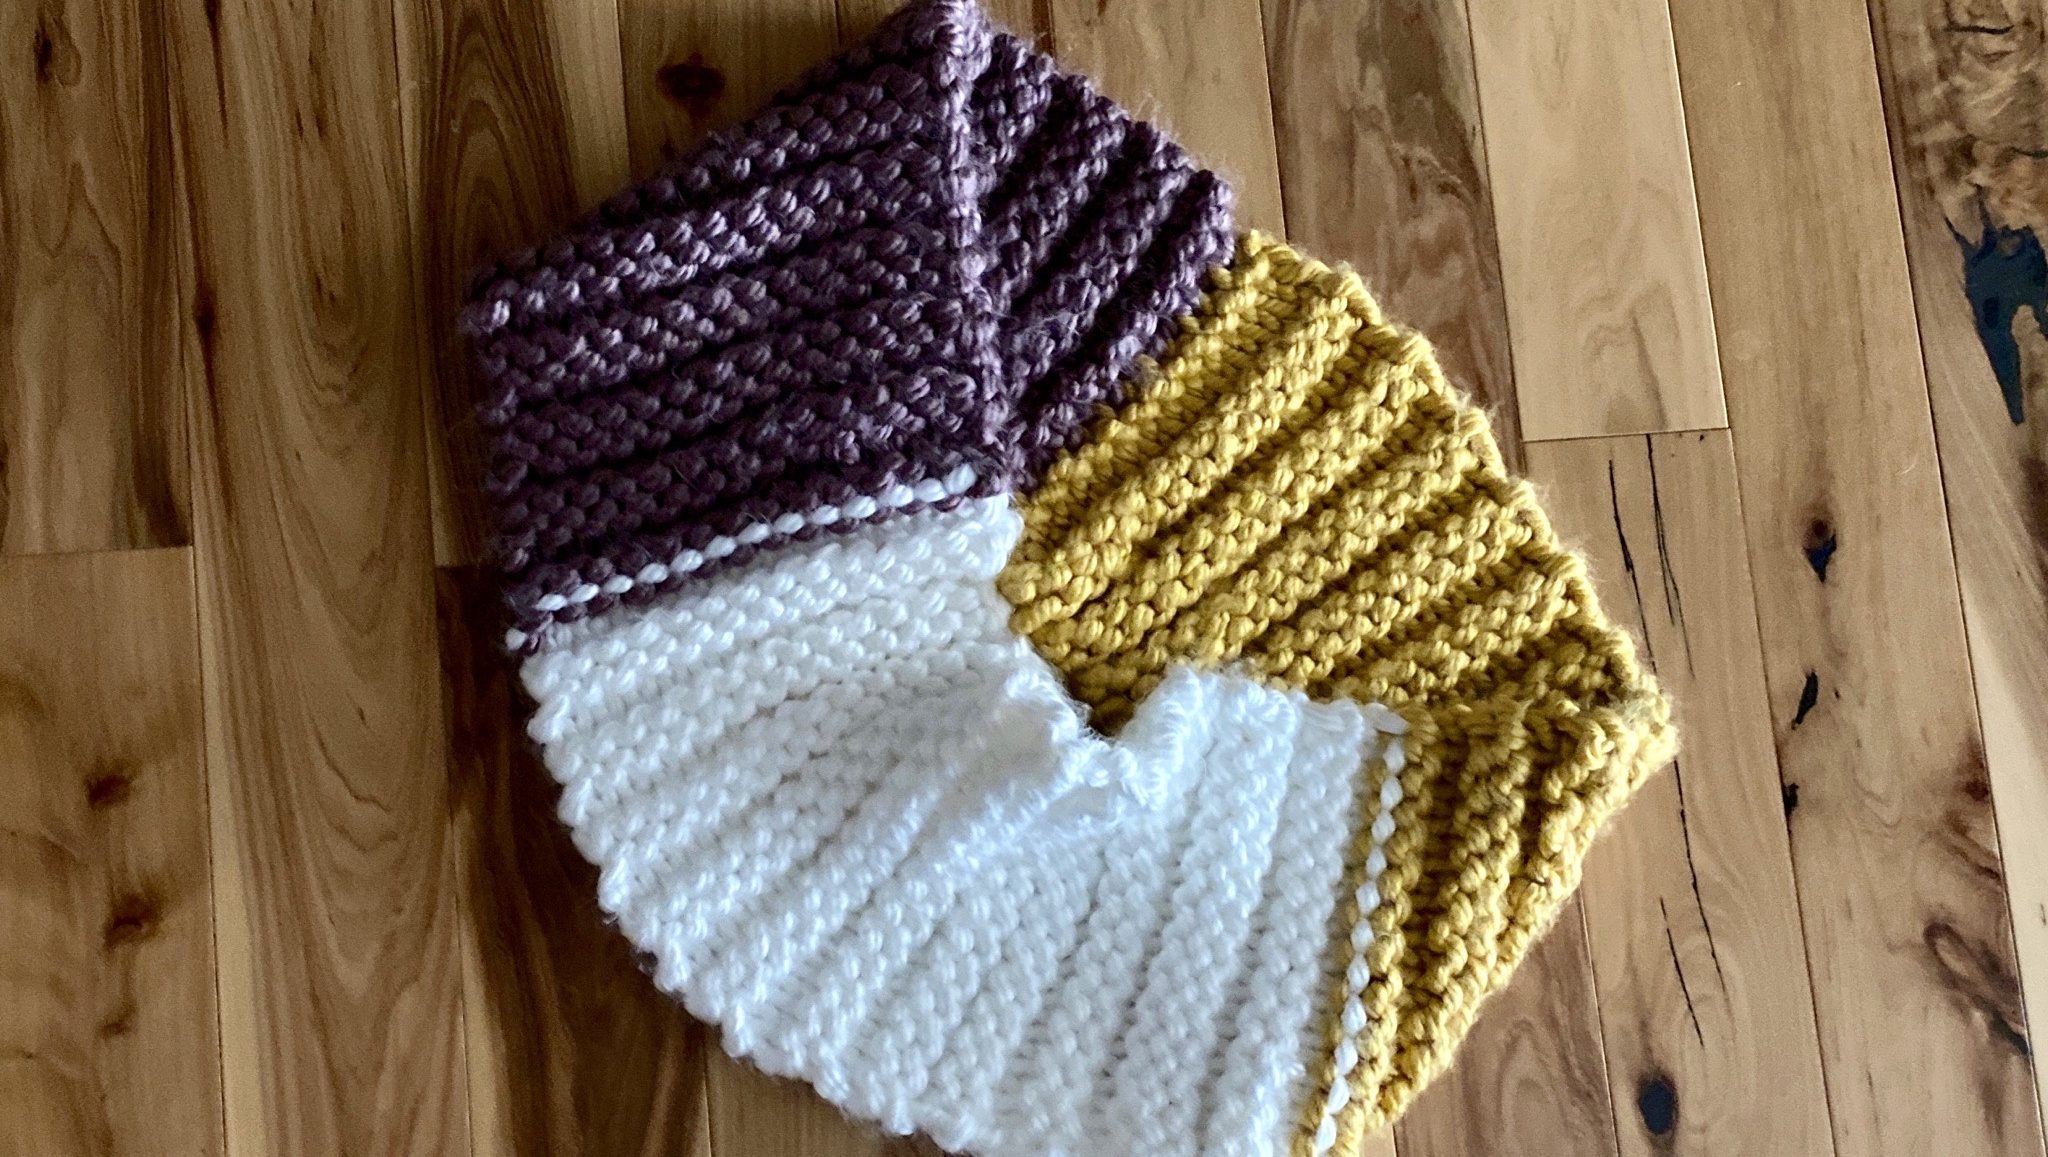
Basic knitting skills are required to make this scarf. Luckily, this is a quick and easy knitting project that will be ready for the cool weather this fall. This scarf is made in the colors of the National Women’s Party flag- purple, white and gold! Once you reach the end, just connect it in a loop to create this stylish infinity scarf.

Supplies:

  • Between 40-50 yards of bulky yarn (weight 6) in purple
  • Between 40-50 yards of bulky yarn (weight 6) in white
  • Between 40-50 yards of bulky yarn (weight 6) in gold
  • 1 pair of US size 13 knitting needles
  • 1 yarn needle

Instructions:

  1. Cast on 12 stitches in your preferred method in the purple color.
  2. Knit the first two rows.
  3. Purl the next two rows.
  4. Repeat the knit-knit-purl-purl pattern until you have about 20 inches left of the first color.
  5. Continuing the pattern, knit or purl the next color onto the existing scarf.
  6. Continue the knit-knit-purl-purl pattern with the second color until you have 20 inches left of yarn and knit or purl the last color onto the scarf.
  7. Continue the pattern until you have about 20 inches of yarn and cast off the stitches to close the scarf.
  8. If you want to wash and block your piece, now would be the time to do so. If not, continue to step 9.
  9. Using the remaining yarn and your yarn needle, mattress stitch the end of the scarf to the beginning of the scarf to create a loop.
  10. Enjoy your suffrage scarf!

Want to download these directions? Click here for a handy PDF!

Follow along with our Daily Discovery! Click here for all activities that you can do at home.

Educational opportunities like this are supported in part by Fort Fund.

Continue Reading

Daily Discovery: Crazy Quilt Tie-Blanket

Post written by Morgan Wilson, Museum Assistant for Collections.

Daily Discovery: Crazy Quilt Tie-Blanket

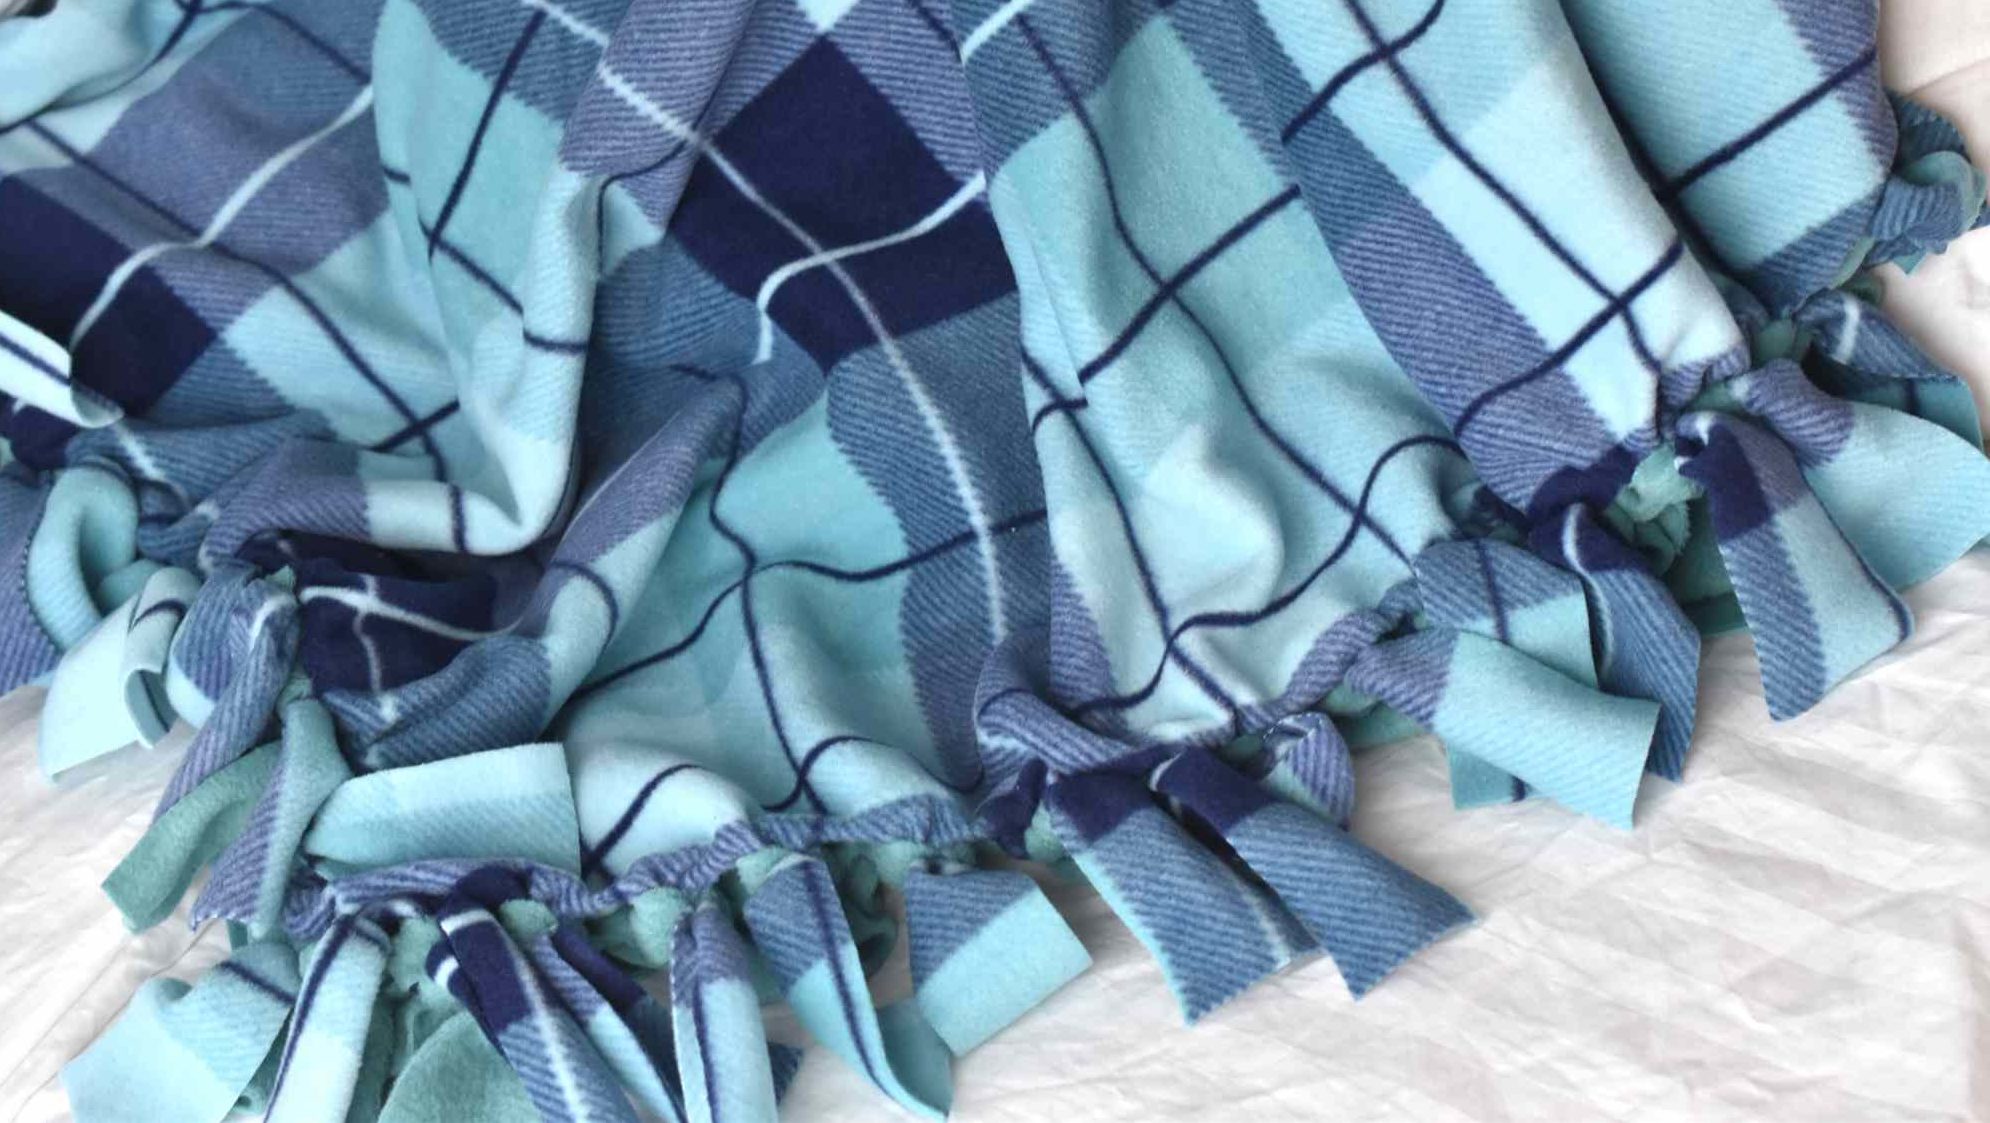
What even is a crazy quilt? It is a pieced together blanket that is all about looking good and does not follow a pattern or have the quilting stitches joining its front to its back that define true quilts. Crazy quilts are often full of souvenir ribbons, fancy fabrics, and embroidered or painted pictures. We have several crazy quilts in our collections at FCMOD. Check them out to get inspiration for your own. Today, we will be making a tie-blanket crazy quilt. There is no sewing required! Don’t worry if you make a mistake, it will just add to the craziness of the quilt!

Supplies:

  • Fleece (2 yards total in at least 2 different colors but use as many as you like. Most fleece that you buy from a craft store will be 60 inches in width which is perfect for this project!)
  • Scissors
  • Tape Measure
  • Colored pencil or fabric marker

Instructions:

  1. Find a work surface to lay your fabric on.
  2. Use the tape measure and colored pencil to lightly sketch a 12 x 12-inch square on the corner of one piece of fabric.
  3. Cut out the square. You can use this first square as a template for the rest of them!
  4. Using your template, cut the rest of the fabric into 12 x 12-inch squares.
  5. Once you have all your squares cut out, take one square, your tape measure and pencil and mark every inch on each edge of the square.
  6. Make a 2-inch cut on each mark. This will create fringe around the square and cut off the corners!
  7. Repeat step 6 until all your squares have fringe.
  8. Take two squares that you want to tie together and line them up so that the tabs are lined up with each other.
  9. Double knot the tabs on either square together until you have 8 knots joining two squares together!
  10. Continue tying squares together lengthwise until you have 5 squares in a row. Make 6 rows of 5 squares.
  11. Now, join each row together width wise until you have a 5 x 6 square blanket –crazy!

Tips and Tricks:

  • You may knot the fringe on the edges of the blanket to give it a more finished look.
  • If your squares are not exactly even, that’s okay. As long as they all have an equal number of fringes it will come together just fine.
  • You can arrange the squares in any pattern you like since a crazy quilt has no pattern.

Image Credit: The Spruce Crafts

Want to download these directions? Click here for a handy PDF!

Follow along with our Daily Discovery! Click here for all activities that you can do at home.

Educational opportunities like this are supported in part by Fort Fund.

Continue Reading

Fossils, Fossils Everywhere!

Post written by Hannah Curtis, Education Assistant.

Fossils, Fossils Everywhere!

When you hear the word fossil, what is the first thing that comes to mind? Was it dinosaurs? If it was, great! Dinosaurs have and continue to play a role in planet earth’s history. We learn about them from a young age, and I know a few three year old’s that know more about dinosaurs than I do! It is a topic of inquiry, research and storytelling. Dinosaur fossils are discovered by paleontologists every year across the globe, especially Colorado (check out the latest discovery by DMNS), but dino fossils aren’t the only thing you can find close to home! Today I will bring you closer to mammal, and reptilian species that lived after the dinosaurs reign, during the Eocene epoch about 56 million years ago!


The Fossil Wall in the Wildlands & Wildlife Exhibit at FCMoD

For reference, here is the earth’s geologic timescale, beginning when the Earth was formed 4.6 billion years ago to the Holocene epoch of today. Dinosaurs lived throughout the Mesozoic epoch starting at 251 million years ago, while the Eocene epoch begins at 55 million years ago. Between those two time periods, the K-T extinction event occurred which eliminated roughly 80% of all species on the earth and began the Cenozoic Era.  It’s hard to think of time as billions of years, so for perspective use your body to represent this geologic scale, now look at your pinky finger. This finger represents the Holocene epoch while the Cenozoic Era would be your arm. The modern human culture timeframe compared to the Earth’s life span is pretty small, yet not insignificant.

Geologic Time Scale

While studying at CSU to get my degree in Biological Anthropology, I was fortunate to participate in the departments Paleontology Field School season in Greybull, Wyoming! We spent two weeks in the hot sun, fossil hunting for tiny early primate jaws (smaller than a fingernail), to the teeth of large hippopotamus looking Coryphodon and everything in-between! Let’s start with the basics by talking about the different types of fossils that result from fossilization. For a quick overview of fossilization check out this video!

Coryphodon Recreation; American Museum of Natural History

Types of Fossils

Body fossils are the fossils you might be most familiar with. These are most often bones or teeth that have been mineralized or petrified. Another example of a body fossil is turtle carapace or bivalve shells. Trace fossils occur when an object’s shape or pattern design is imprinted into the earth leaving a trace of what it was. The actual object is not fossilized, but instead leaves behind clues. Footprints or trackways are trace fossils along with the pattern and texture of crocodile skins.

One of my favorite types of fossils are coprolites which is fossilized animal dung. Burrow holes created by insects like the prehistoric wasp, are filled in with sediment and compacted to reveal fossilized burrows. Even after millions of years, fossils share bits and pieces of life, animal behavior and environmental aspects with paleontologists today!

Dinosaur Coprolite on display at FCMoD

Top left: insect burrow. Top Right: crocodile skin trace fossil. Bottom: fossilized turtle carapace

Fossil Hunting

Methods of paleontology will vary depending on the site or location as well as what era or time period you are looking at. Fossils coming from the Eocene generally aren’t going to be large femurs or skulls like dinosaur paleontology. Mammals and reptiles during this time weren’t even close the size of most dinosaurs so our methods didn’t including major digging or excavating. Our main method is surface prospecting. Seen in image 1 below, teeth and bones can actually be easily spotted on the grounds surface. The sediment is clay like, but easily eroded by rainfall and flooding. As erosion occurs, fossils rise the surface. Fossilized teeth shine and sparkle with bright sun making them easy to recognize. To speed up the process of erosion we use hammers and picks to break up and loosen the sediment. After a years worth of rainfall, a new layer will be revealed for the next years fields school students.

You won’t just find small bone fragments or teeth, at some sites or locals, full or partial skeletons have been found. These fossils will likely under multiple layers of sediment and require a delicate touch and will take more than one day to retrieve. Depending on the size of the fossil, you might have to cast the fossil. Using plastering materials, you can safely remove the fossil and surrounding sediment from the ground and transport it back to a lab to be prepared.

Fossil jaw and teeth

Students speeding up erosion process

Preparation and Curation

Paleontology doesn’t end in the field. Once you return to the lab with the fossils, they need to be properly curated and processed. Each fossil is given a field accession number and analyzed to identify the taxon of the animal, along with the elements of the fossil that easily identify it. This could be which teeth, or bone it is and if it was from the right or left side of the body. The fossil is also labeled by which local it was found in, who found the fossil, and for the geology nerds the paleosol stage! Accessing and curating each specimen provides valuable context for each fossil. Without it, the story of life, and evolution during this time can’t be properly pieced together. We found over 500 individual specimens during our field school year, and they all live in the CSU Paleontology Lab where research and preparation continue. Next time you hear the word fossil, will it still be dinosaurs you think of first?

Fossil Accessing Labels

 Fossil collections storage


Continue Reading