Post written by Willow Sedam, Live Animal Husbandry Team Member.
Aw – Rats!
Ever wonder what it would be like to live in a museum? For the critters who are a part of our Animal Encounters exhibit, living in a museum is just a part of their daily life!
Our mischief (a group of rats) of four fancy rats are the only mammals in the Animal Encounters exhibit at the museum. They are an important part of our mission to educate the public about animals and how they crawl, slither, and skitter in-and-out of our daily lives. Our rats travel regularly through the museum to meet people as part of the live animal presentations and events to help educate the public about life on earth. But what do they do when they’re not helping educate the public?
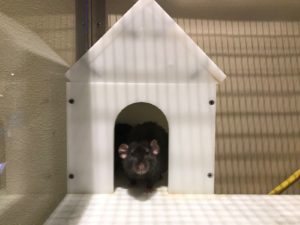
At the museum, the rats’ morning starts around 8:00 am, when the Animal Encounters staff come in to take care of all the animals before the museum opens. They’re usually all fast asleep in a big fuzzy rat pile. They are not very happy to be woken up – but they need to come out of their enclosure so that the staff can clean it and make their breakfast.
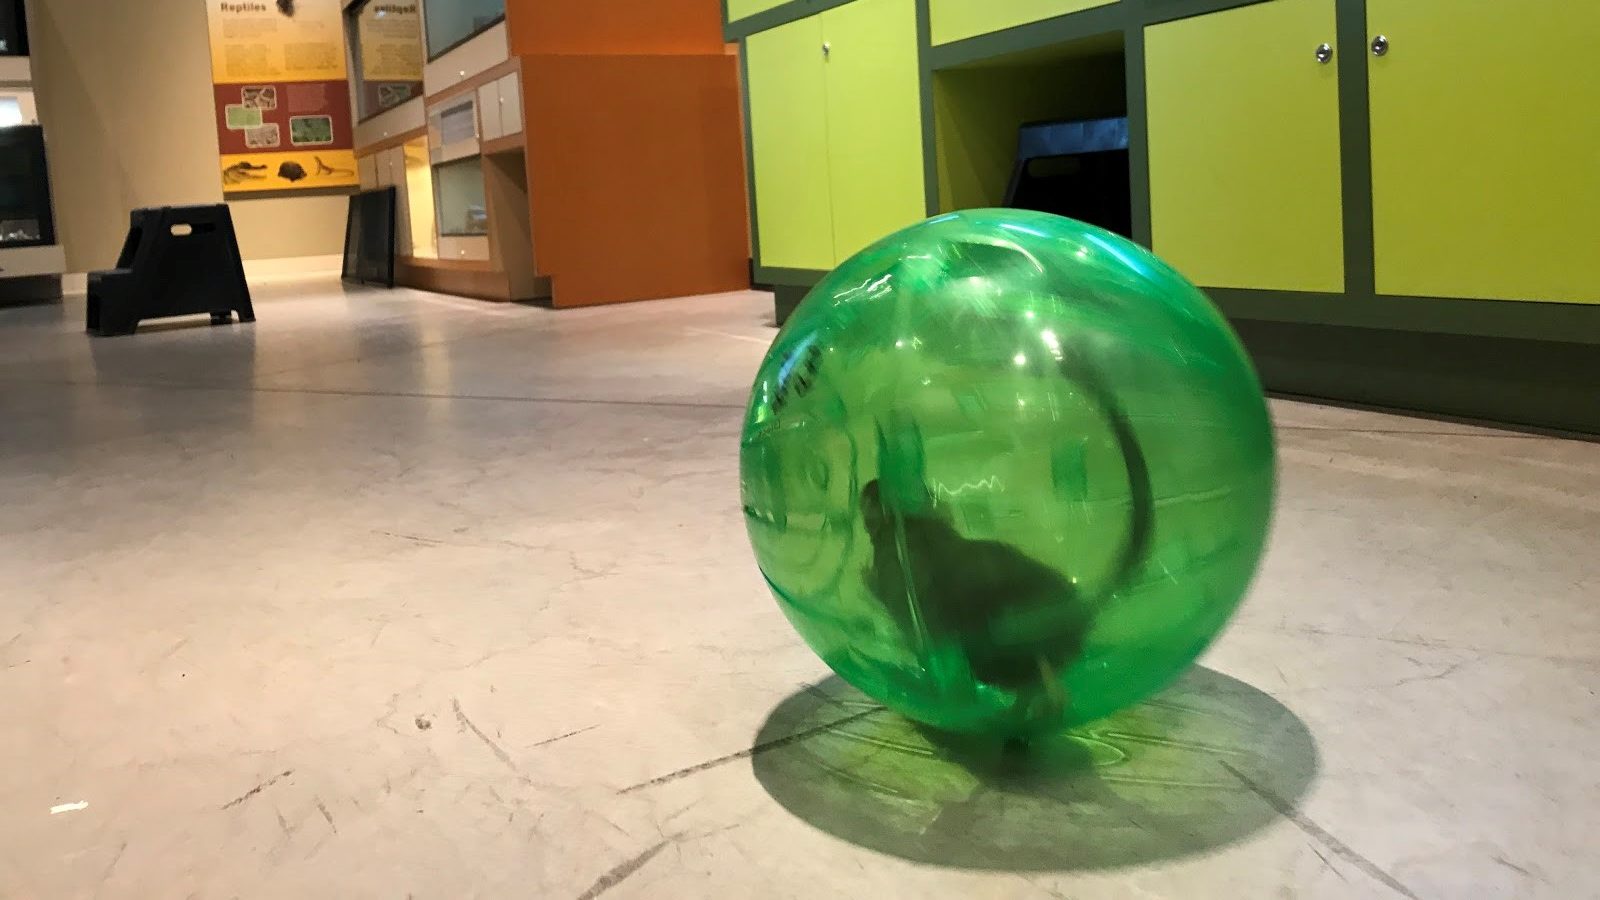
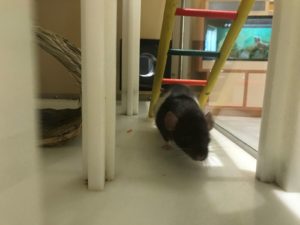
Once they’re up, each rat gets put in their own brightly-colored exercise ball and is set loose in Animal Encounters for their morning exercise – although each rat treats their “exercise” time differently, as some prefer to find a quiet corner to nap in, while others like to run around and sniff everything they can.
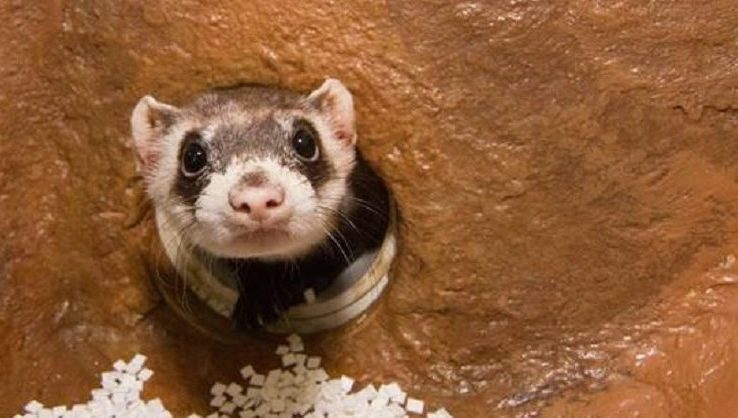
Each rat is named after their distinct and varied appearances. Black and White is a white rat with black markings, and the busiest, always running around hiding food in her favorite food-hiding spots. Black Rex is named after her fur – rex is a name for animals bred to have soft and curly fur – and her fur is definitely soft, but because it’s so fluffy, it’s always sticking up in crazy directions! Blaze is a white rat with a gray “blaze” marking down the top of her forehead, who loves to snuggle and take naps. And Brown is your typical brown-furred rat, and the most adventurous of the mischief, always spending her exercise time exploring the museum and bumping into people’s ankles.
Rats are nocturnal, which means they’re most active during the night, and prefer to spend their days sleeping – something you might have noticed if you’ve been to the museum and seen them all curled up in a sleepy pile. However, once they’re done with their morning exercise and back in their enclosure, sleep is far from their minds, because it’s time for breakfast!
Rats are omnivores, much like humans, meaning they eat meat and plants. In the wild, rats will eat just about anything – including agricultural crops and discarded human food. At the museum, we offer them a varied diet of fruits, vegetables, greens, and rat kibble, to make sure they get all the nutrients they need. But just because rats are omnivores, doesn’t mean they don’t have standards! Our rats have favorite foods just like we do: they love sweet potatoes and curly lettuce the most. Just like us, they also have a least favorite food, like squash – they’ll leave it completely untouched in their food bowl, even when everything else has been eaten!
Rats are very smart animals, and need enrichment to live happy lives in captivity. Enrichment is a term for anything that is provided to animals to keep them from getting bored – like interesting treats, puzzles, and new toys. At the museum, we have several strategies for changing up the rats’ routines to make sure there’s always something interesting going on. They get food treats, from peanuts hidden around their enclosure, to blocks of alfalfa hay, to cute little rat-sized “hamburgers” made of seeds and dried fruit. They also get new toys like wicker balls and salt licks regularly – and every so often they get new hammocks, tunnels or houses to cuddle up in. Every time they go back in their enclosure after their morning exercise, there might be something new and exciting waiting for them!
By the time the rats have had their exercise, gotten their home cleaned, and finished eating breakfast, it’s usually close to opening time. Once the museum is open again you can come in and see exactly how the rats spend the rest of their busy rodent day. And they’ll be just as excited to see you as you are to see them!
Continue Reading