Post written by Sarah Frahm, Archive Assistant.
Fort Collins & The Flu: 1918-1919
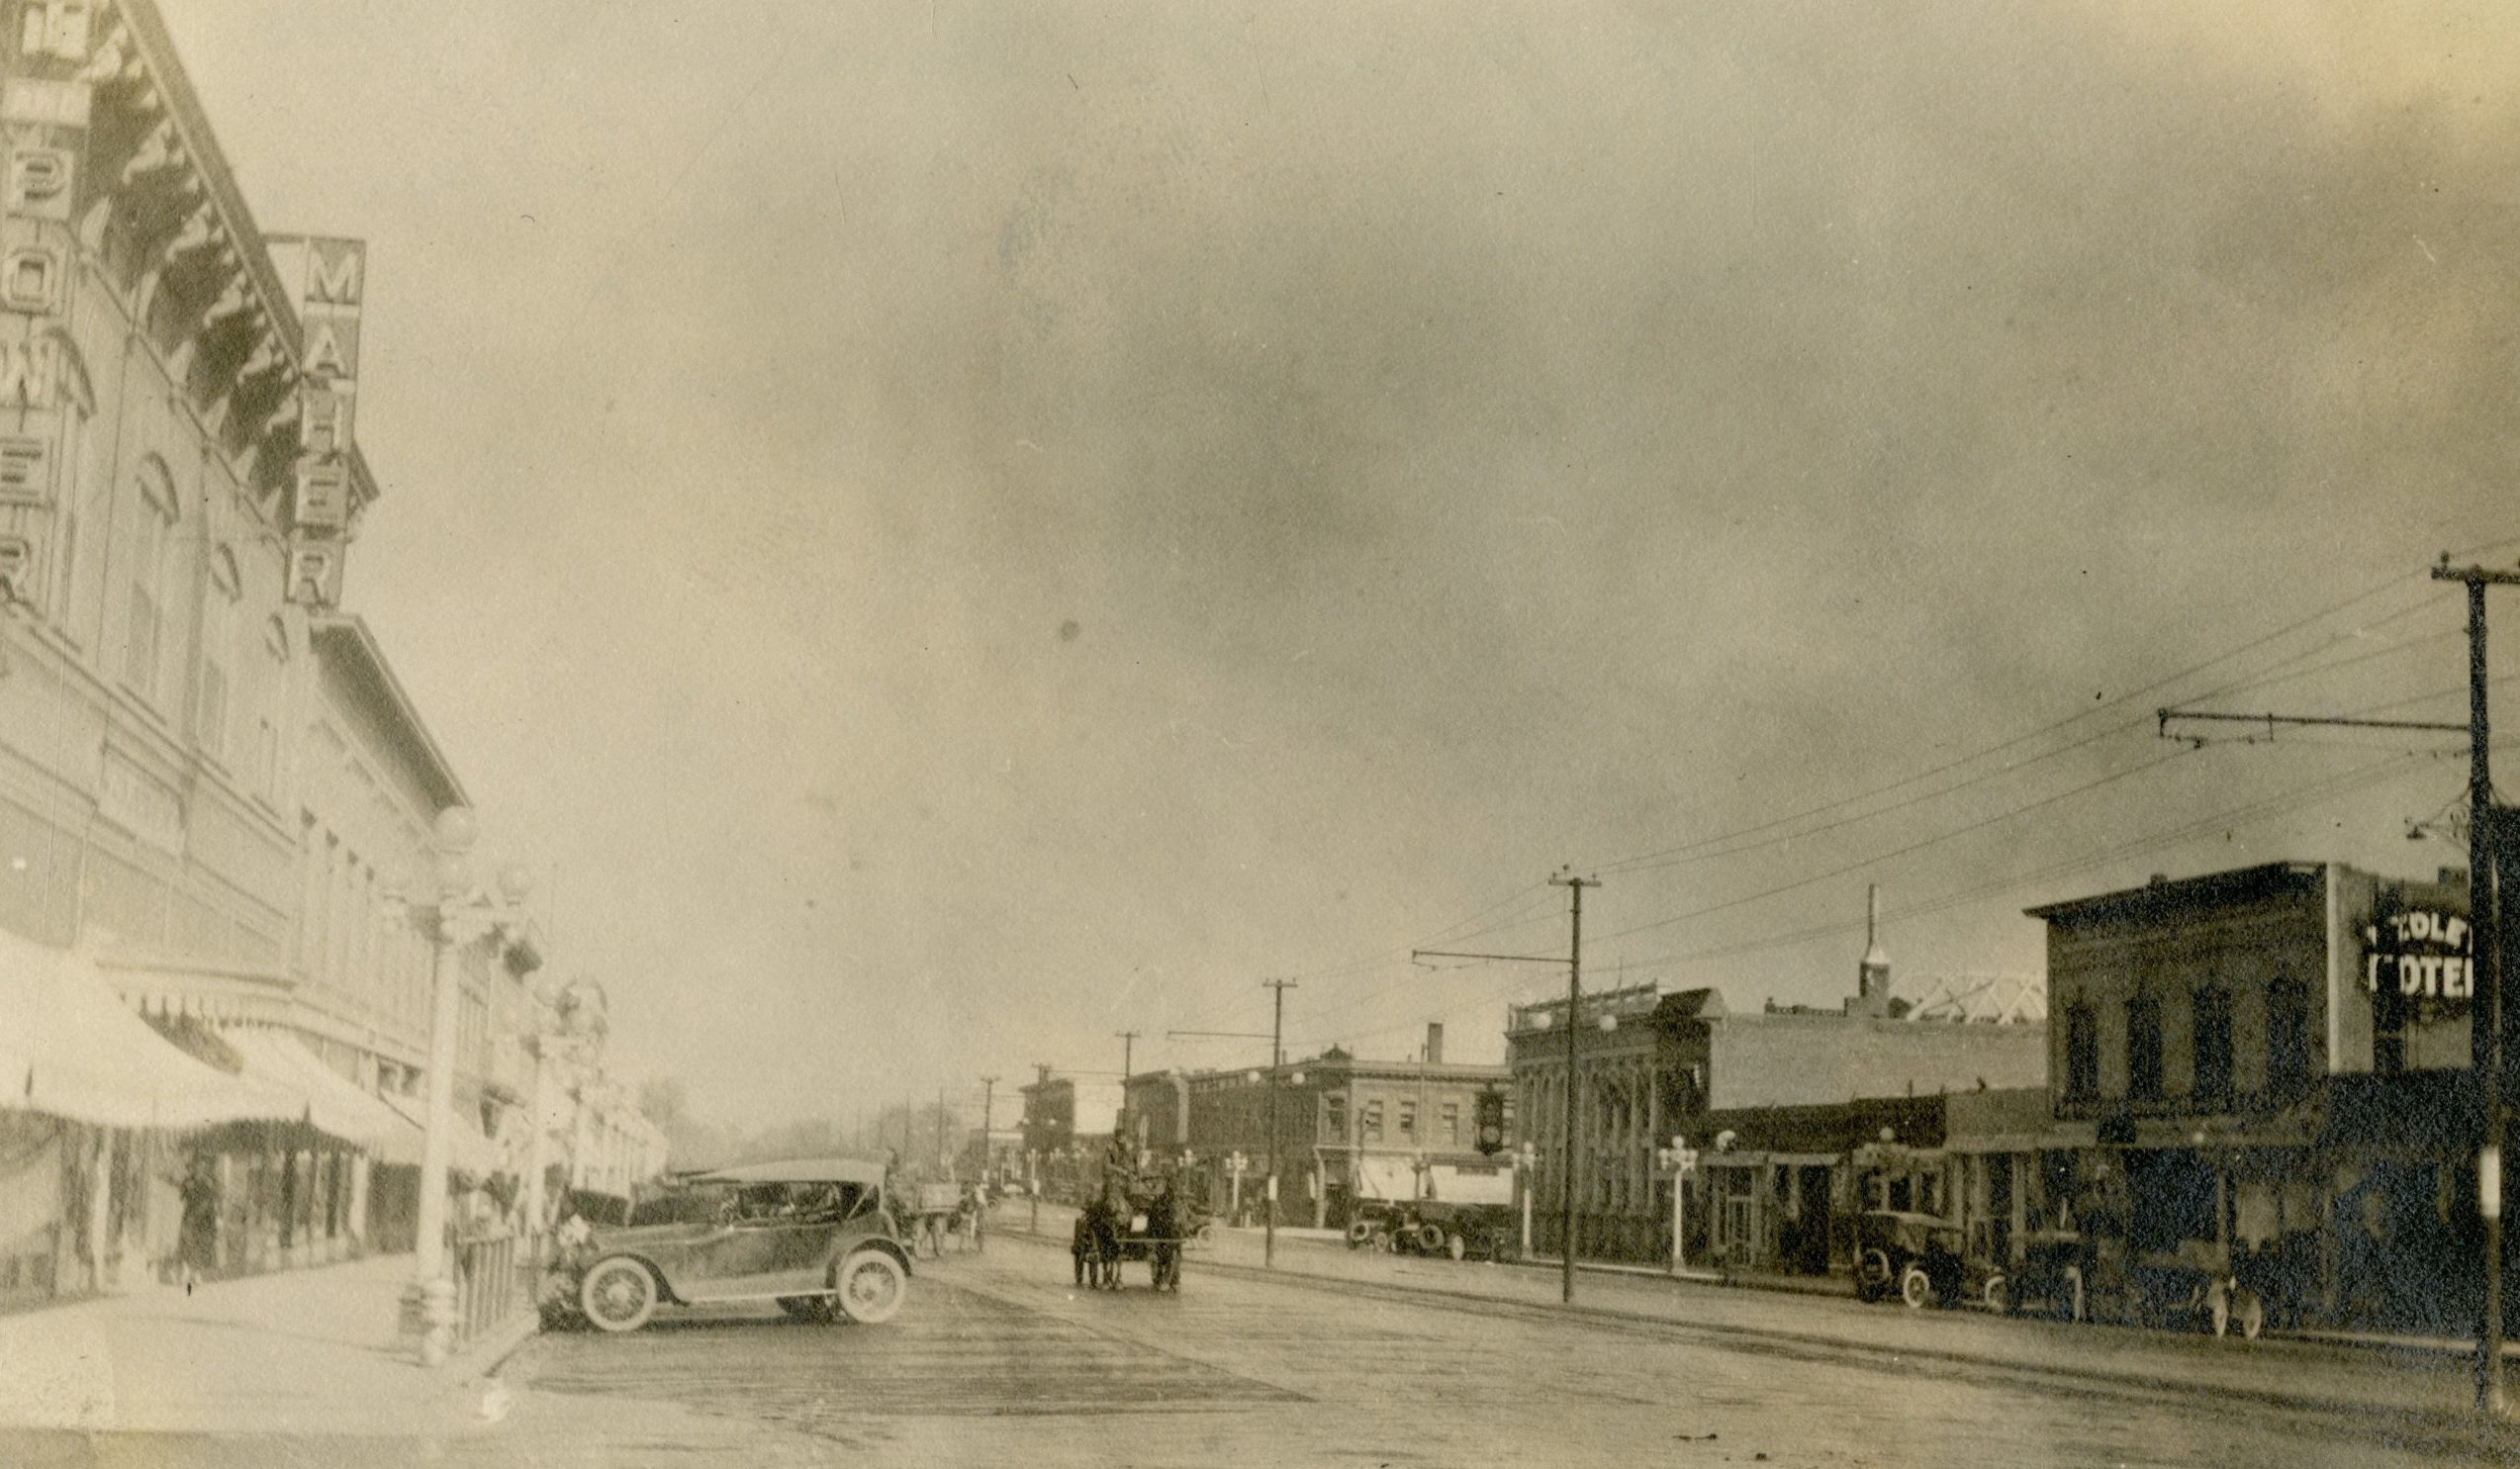
What did Fort Collins look like the last time the city faced a widespread shutdown? From the fall of 1918 through the early spring of 1919 the citizens of Fort Collins found themselves under varying stages of quarantine due to the influenza epidemic. One document, currently at the Archive, that gives some insight into how the city officials handled the epidemic and quarantining of the population is a “Summary of Advisory Committee Recommendations.”

Fort Collins Quarantine Recommendations
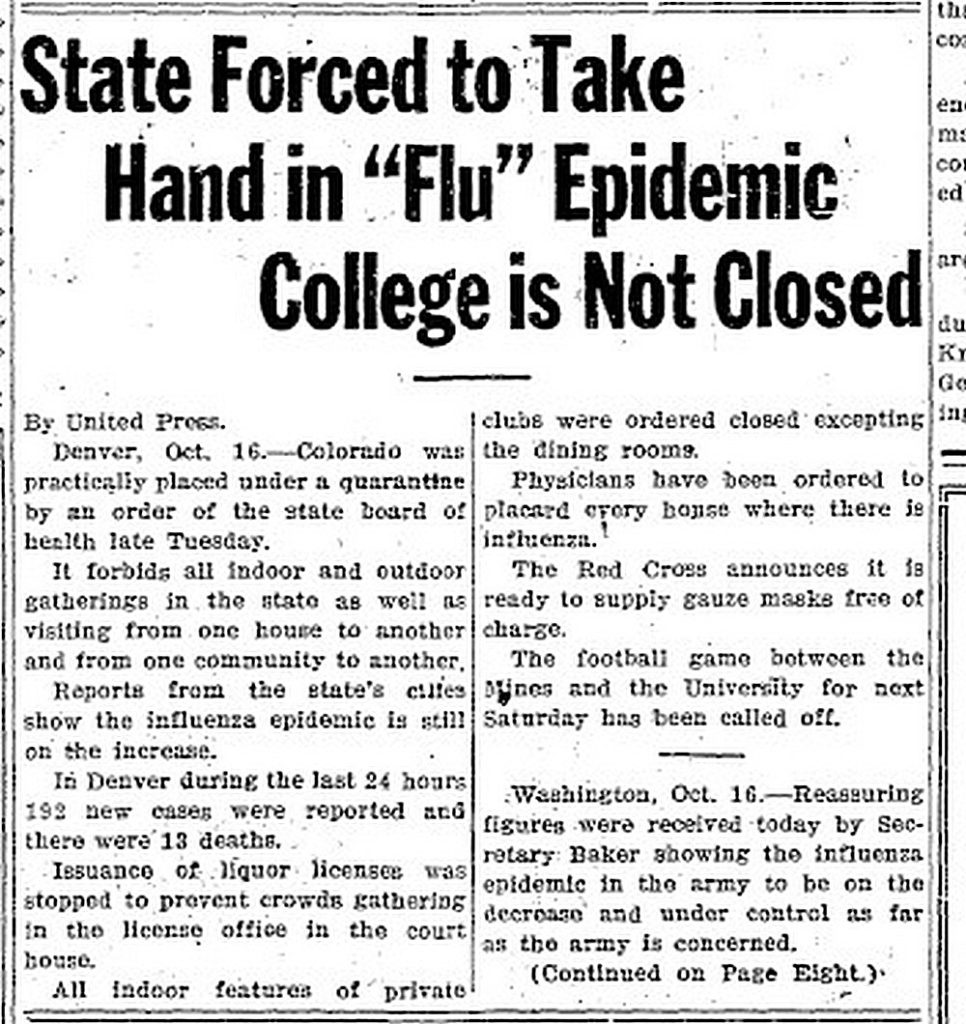
Most telling about the problems the city faced in managing the flu epidemic is that the advisory committee was not even formed until December 1918, despite influenza raging in the city since at least October. According to an October 18th article in The Weekly Courier the state board of health had ordered the closing of “everything” in Colorado but that those in charge of the college campus, where men were still doing military training, would not close the campus. The previous week an editorial had appeared in the newspaper demanding a “rigid quarantine be established” and that the city should be “shut down tight” like Boulder and Greeley. By the end of the October both the college and the city had enacted some form of closure, although without official documents it is a challenge to tell just how strenuous the shutdown was. Another article mid-November from The Weekly Courier complains that “quarantine has not been very rigid of late” with November seeing both elections and the armistice ending World War One and that these events and gatherings led to a rising in the number of flu cases.
The convening of a citizen advisory committee to the city board of health seems to be a recognition that the previous handling of the flu epidemic had been somewhat ad hoc and unclear (the November issues of The Weekly Courier discuss whether masks should be worn, or not, and if quarantine would be lifted, or not) and in need of some sort of codification.
But how did these regulations, once adopted, affect the citizens of Fort Collins? The first two points recommended by the advisory committee were not all that different from the quarantining, done before and after the influenza epidemic, for other diseases, like measles or scarlet fever. However, the third recommendation of shutting down schools and “ordinary public gatherings” was different. Social and fraternal clubs closed, such as the Elks (in April 1919, The Fort Collins Courier reports that the lodge was in remarkable good financial health despite having been closed for nearly three months. The women’s gymnasium, on the other hand, found itself struggling to have enough members in March.) The superintendent of the school district reported in the summer of 1919 that the school year had been full of “anxiety, hindrance, and depression” and that many of the plans for academic work had to be abandoned.
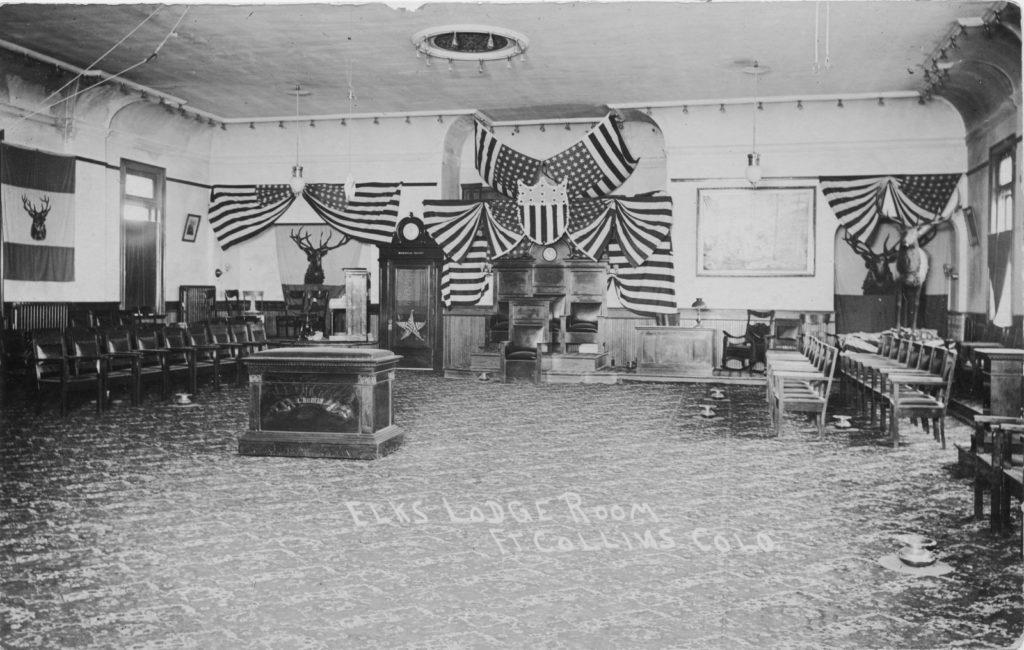
The Elks Lodge was located at 202 Linden Street and was closed during the influenza quarantine.
If the lack of proper schooling and a severe curtail on social life were not bad enough, the fourth recommendation from the advisory committee was an extreme frustration to many in Fort Collins. Shortly after the requirement limiting the number of people in any place of business came out The Weekly Courier wrote an editorial telling people to quit complaining, pointing out that they too had to deal with these restrictions upon their office (if someone was to visit the newspaper office, a member of staff would have to leave in order to maintain the proper number of people per square footage). The editorial admonished the people the writer considered to be “knockers” to take the disease more seriously for the sake of the survival of the city.

While the committee was extremely serious on the subject of loafing on the streets (how else does a recommendation get to be written not only in capital letters but also underlined and starred?) the record of impact on peoples’ lives of that specific order is currently unknown. Rather it is the suborder that bares out most in the historical record. The committee called for a special officer to be appointed. The man who became “Quarantine Officer” was Orrin J. Watrous, then the secretary of the Fort Collins Commercial Club. According to The Fort Collins Express writing about the official vote of thanks put forth by the city government to Watrous, Mr. Watrous daily visited between “a dozen to twenty houses in his quarantine rounds” in order to ensure people were properly following the orders of the city.

Orrin Watrous, pictured here at the far right with a cigar in his mouth and boxing gloves on his hands.
When people did not follow quarantine regulations, there were consequences. One farmer, a Mr. Tom Hale, accused of breaking the quarantine on his house, had to go to court on December 27th and face trial. The Weekly Courier reported that Mr. Hale’s case was dismissed. While it is not clear what kind of fine or other penalty Mr. Hale would have had if he had been found guilty, his case is still an example of the added difficulties of living life under quarantine.
It is difficult to know, exactly, how people felt about the restrictions placed upon them by the city government. Currently there is only access to a weekly newspaper (even though the newspaper also ran dailies, Archive staff cannot get to them right now) and while there are potentially useful items held in the Archive collection, with our own doors closed, a lot of the details will have to remain unknown for the current time.
Continue Reading


