Post written by Angela Kettle, School Programs Coordinator.
Daily Discovery: Bending Light and Eyesight
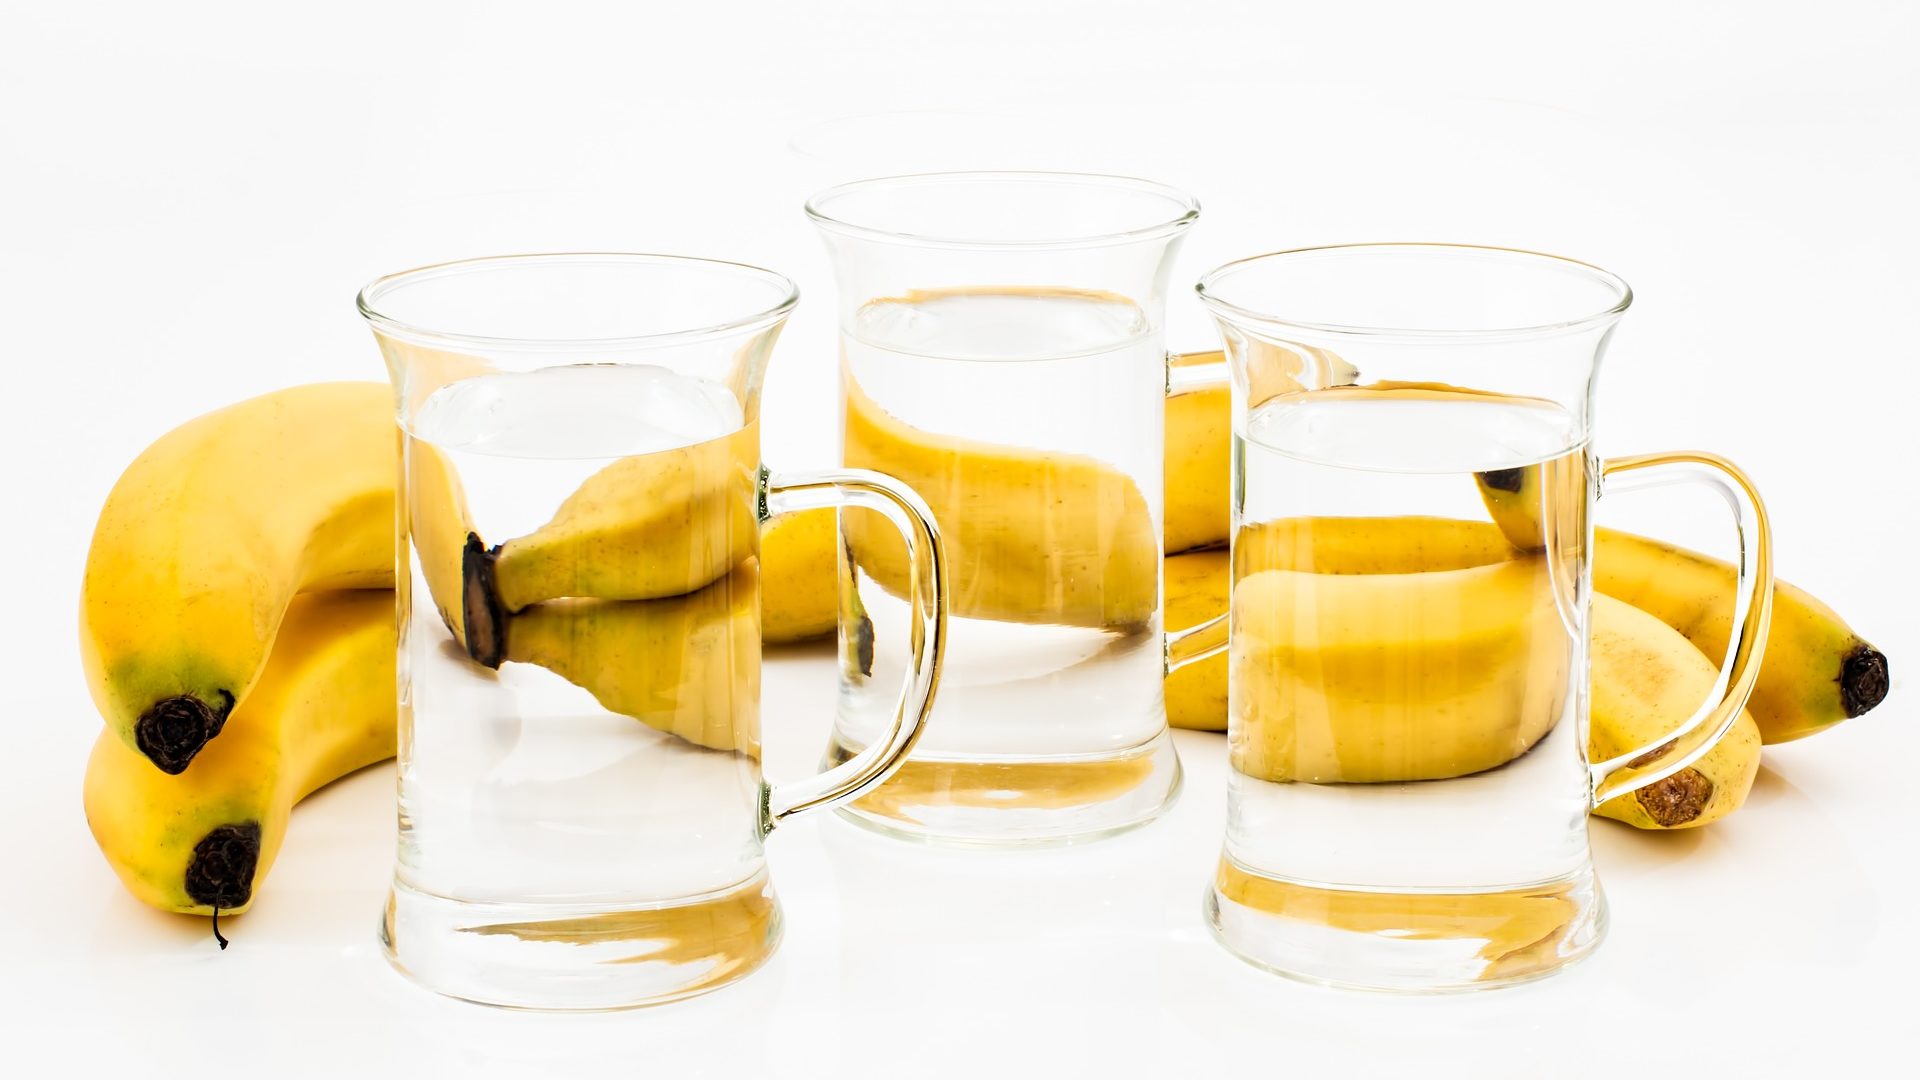
Have you ever noticed that your legs look out of place when you dangle them in the pool, or that the straw in a glass of water looks bent? This is called refraction. Refraction occurs when light bends as it passes from one medium to another – for example, from the front of a glass, to the water inside, to the back of a glass. Experiment with refraction for yourself in the activity below!
Supplies:
- Paper
- Pencil
- Crayons, colored pencils, or markers (optional)
- 2+ different kinds of drinking glasses, filled with water – make sure the glasses are transparent
- Your Observation Journal (find out how to make one here), or use another sheet of paper to record your findings
Instructions:
Part 1
- Draw an arrow on a sheet of paper. Note which way the arrow is facing (right, left, up, or down).
- Fill up a glass of water.
- Put your glass of water down, and put yourself at eye level with the water in the glass. Hold your drawing at arm’s length, so that you can see it through the glass. What do you notice about the way your drawing looks now? What about if you look at the image through the glass from a different angle?
- Repeat the experiment, this time with a different kind of glass. Does the image stay the same as the last glass, or does it change?
- Write or draw your findings in your Observation Journal.
Part 2
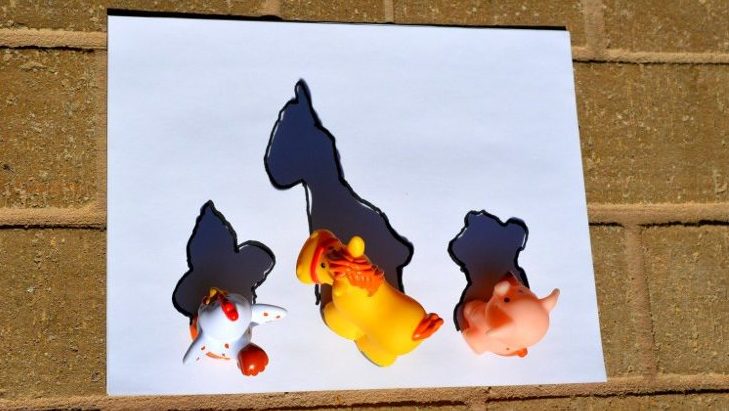
- Draw something new – whatever you like! Make sure that whatever you draw has certain parts facing one way or another (for example, you could draw a face with the eyes looking left, or a cat with its tail on the right side of the paper and its head on the left side).
- Look at your drawing through your glass of water, like you did with the arrows. What do you notice?
- Play around with your drawing and your glass. Try looking at the image from lots of different angles, through as many different kinds of drinking glasses as you can. How many different images can you create from your original image, just by experimenting with refraction?
- Record your findings in your Observation Journal. Share what you find by tagging us on social media and using #DailyDiscovery.
From Drinking Glasses to Eyeglasses
Refraction might seem like a fun magic trick, but did you know that refraction is what makes it possible for humans to see? Light is refracted as it passes through the cornea and the lens of the eye. This allows the light to come into focus on the retina, where it is converted into a message that the brain can understand.
Sometimes, though, refraction can go wrong, causing what’s called nearsightedness or farsightedness. When people are nearsighted, it means they can see things that are close to them, but not far away. Usually, this is caused by the eye being too long, causing light to focus in front of the retina. When people are farsighted, it means they can see things that are far away, but not things that are close. Usually, this is caused by the eye being too short, causing light to focus behind the retina. Both nearsightedness and farsightedness can also be caused by problems with the shape of the eye’s lens.
Thankfully, errors in refraction can be corrected with eyeglasses. First, an eye doctor (an optometrist) tests a patient’s vision to figure out her prescription (a way of measuring a person’s vision). From there, an engineer uses this prescription to make unique lenses. This lens is engineered to refract light so that it focuses in just the right spot on the retina, allowing the patient to see clearly.
Eyeglasses through the Ages
Eyeglasses have undergone many changes as engineers have figured out more efficient ways to craft them… and as fashion has changed, too! Here are a few historical photos from our Archive and a piece from our Collection at the museum! You can learn more about eyeglasses and fashion from our recent blog post, parts of which are adapted below:
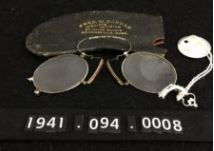
The museum’s artifact collections offer a retrospective look (which is 20/20, of course) at the history of innovation in eyewear. Pince-nez spectacles, which had no earpieces and stayed in place with a nose clip were quite popular early in the 20th century but fell out of fashion as they became associated with older generations.
Want to download these directions? Click here for a handy PDF!
Follow along with our Daily Discovery! Click here for all activities that you can do at home.
References & Additional Resources
- Encyclopedia Britannica. (2020, April 9). Refraction. In Encyclopedia Britannica.com. Retrieved May 11, 2020, from https://www.britannica.com/science/refraction.
- National Eye Institute. (2019, July 9). Types of Refractive Errors. Retrieved May 11, 2020, https://www.nei.nih.gov/learnabout-eye-health/eye-conditions-and-diseases/refractive-errors/types-refractive-errors
- National Eye Institute (n.d.). Nearsightedness. Retrieved May 11, 2020, https://www.nei.nih.gov/sites/default/files/nehep-pdfs/Nearsightedness.pdf
- The Future’s So Bright, I Gotta Wear Shades! (2020, January 23). Fort Collins Museum of Discovery. https://fcmod.org/blog/2020/01/23/the-futures-so-bright-i-gotta-wear-shades/.
- U.S. National Library of Medicine. (2019, February 28). Normal, nearsightedness, and farsightedness. Retrieved May 11, 2020, https://medlineplus.gov/ency/imagepages/19511.html
Educational opportunities like this are supported in part by Fort Fund.
![]()