Post written by Harli-Jo Rachel, Education Intern.
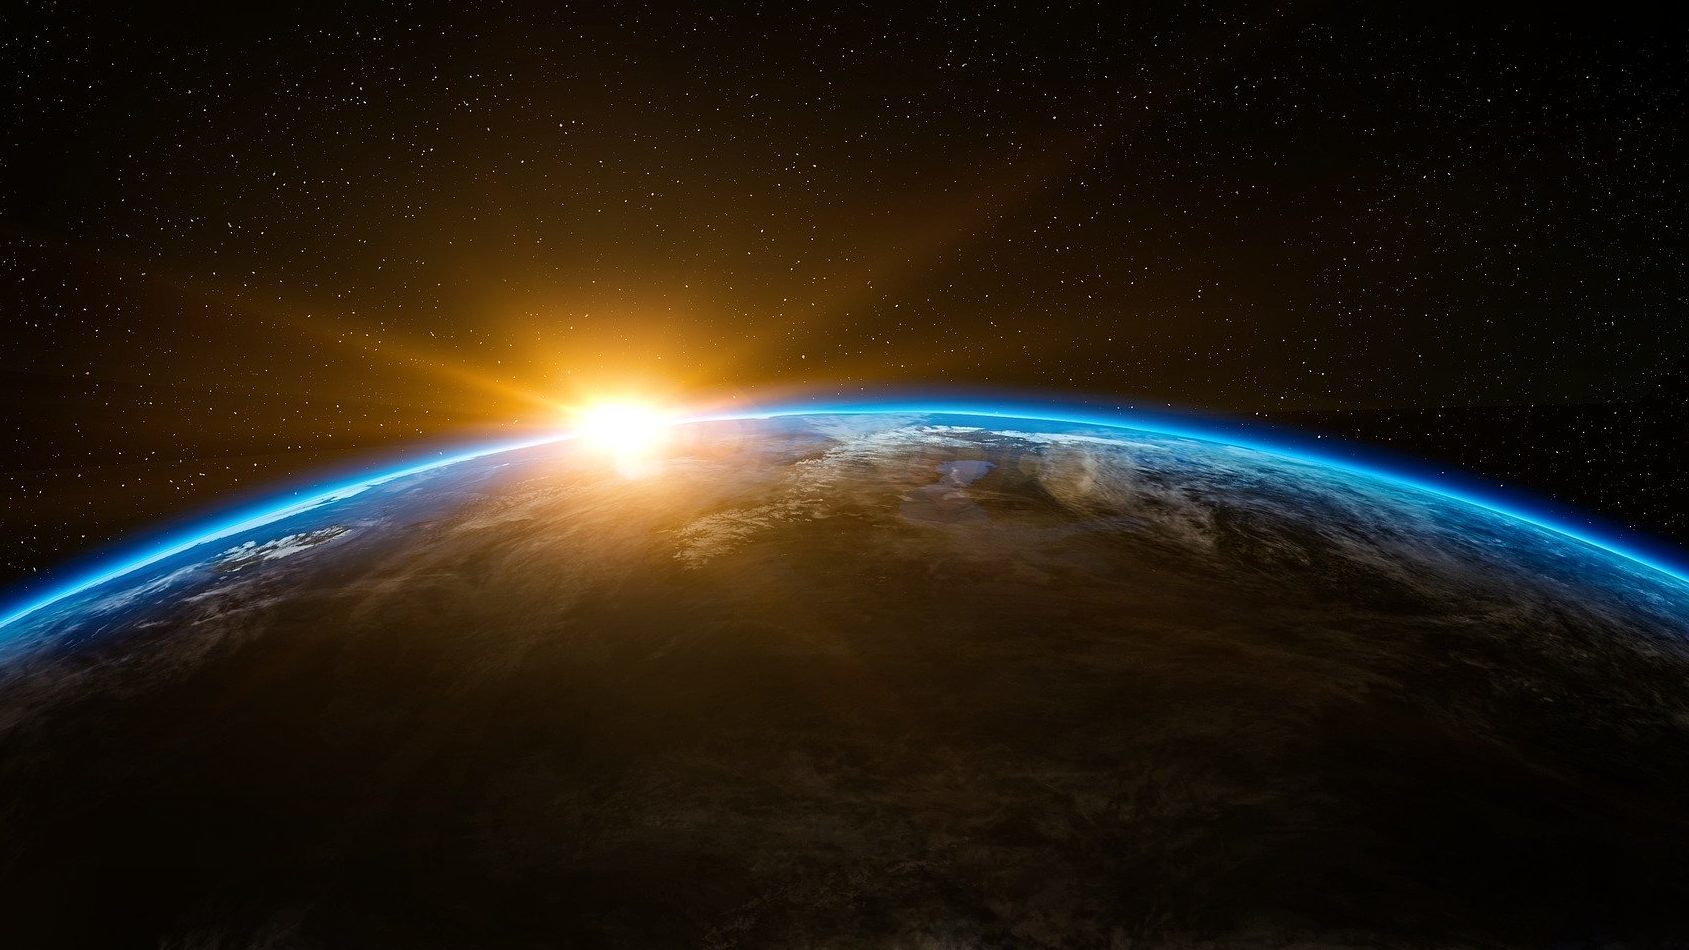
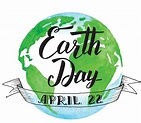
Earth Day 2020: 50th Anniversary
What is Earth Day?
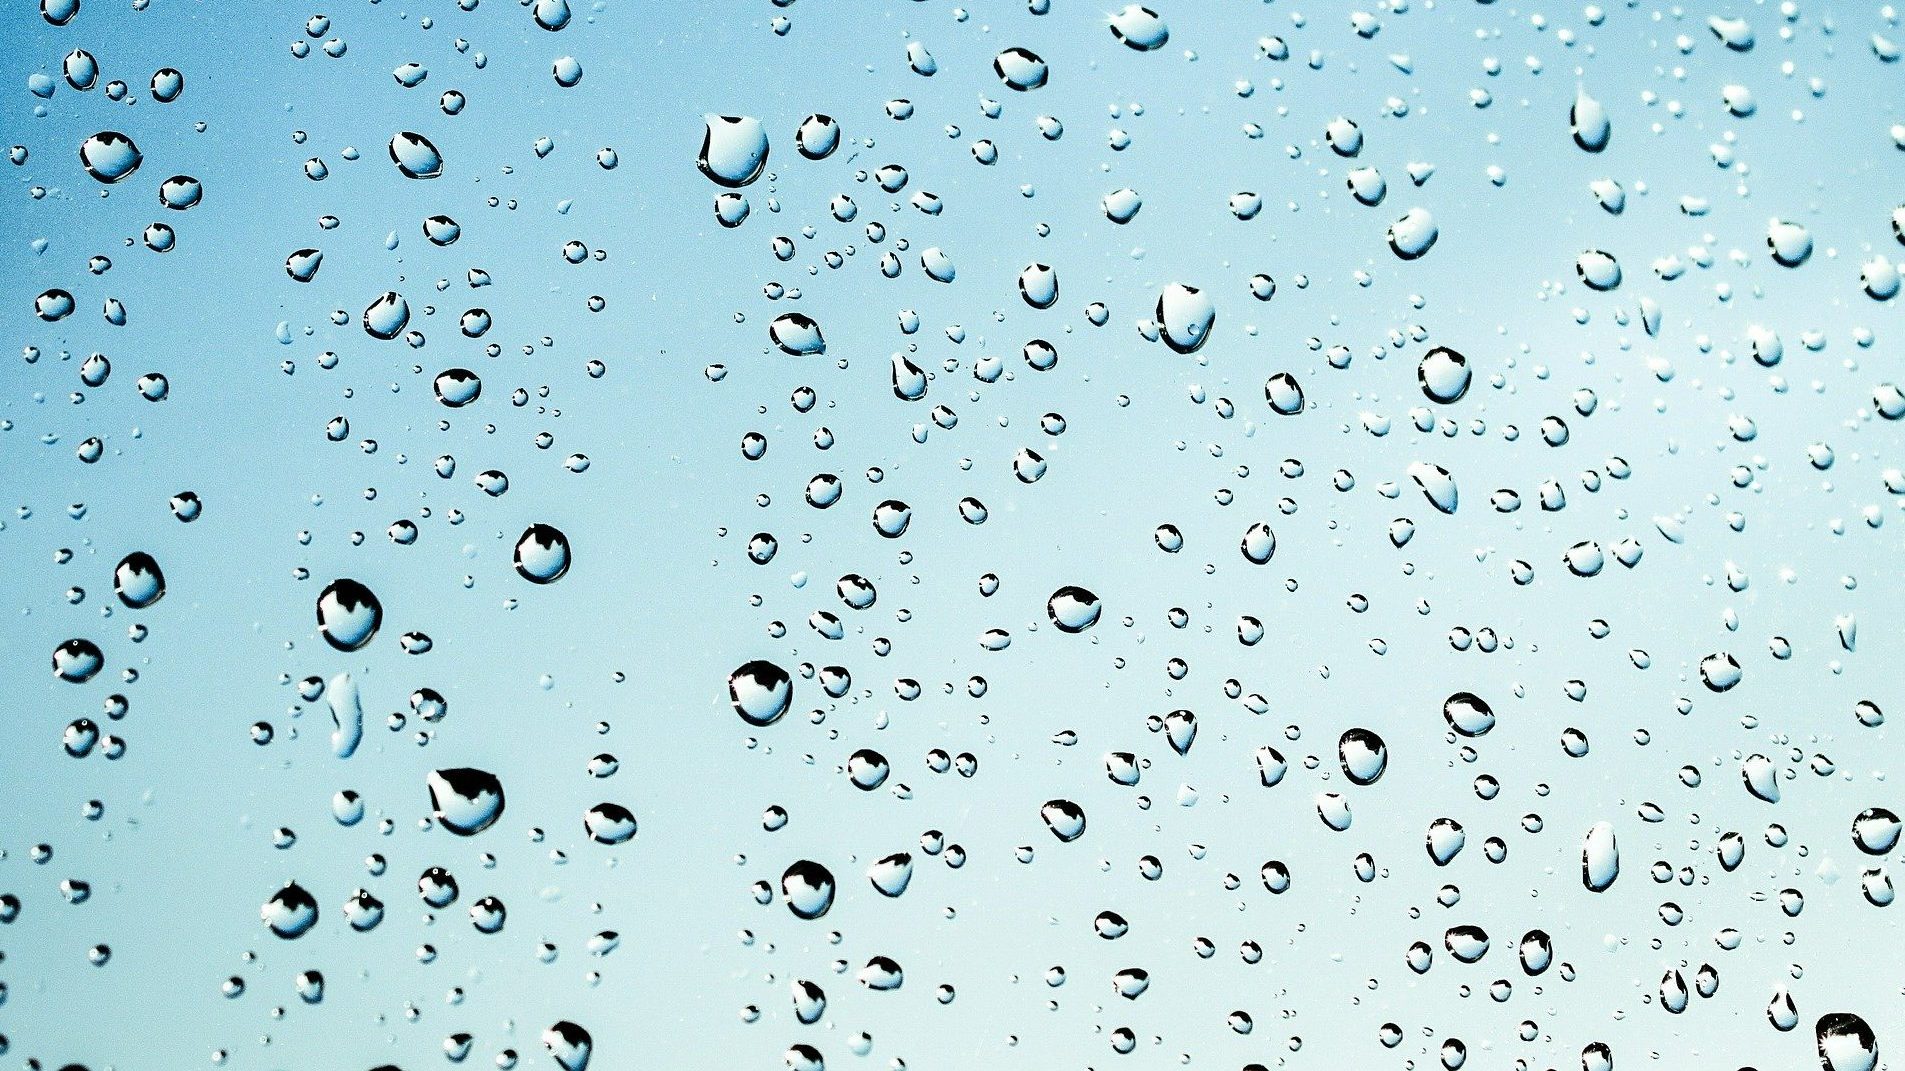
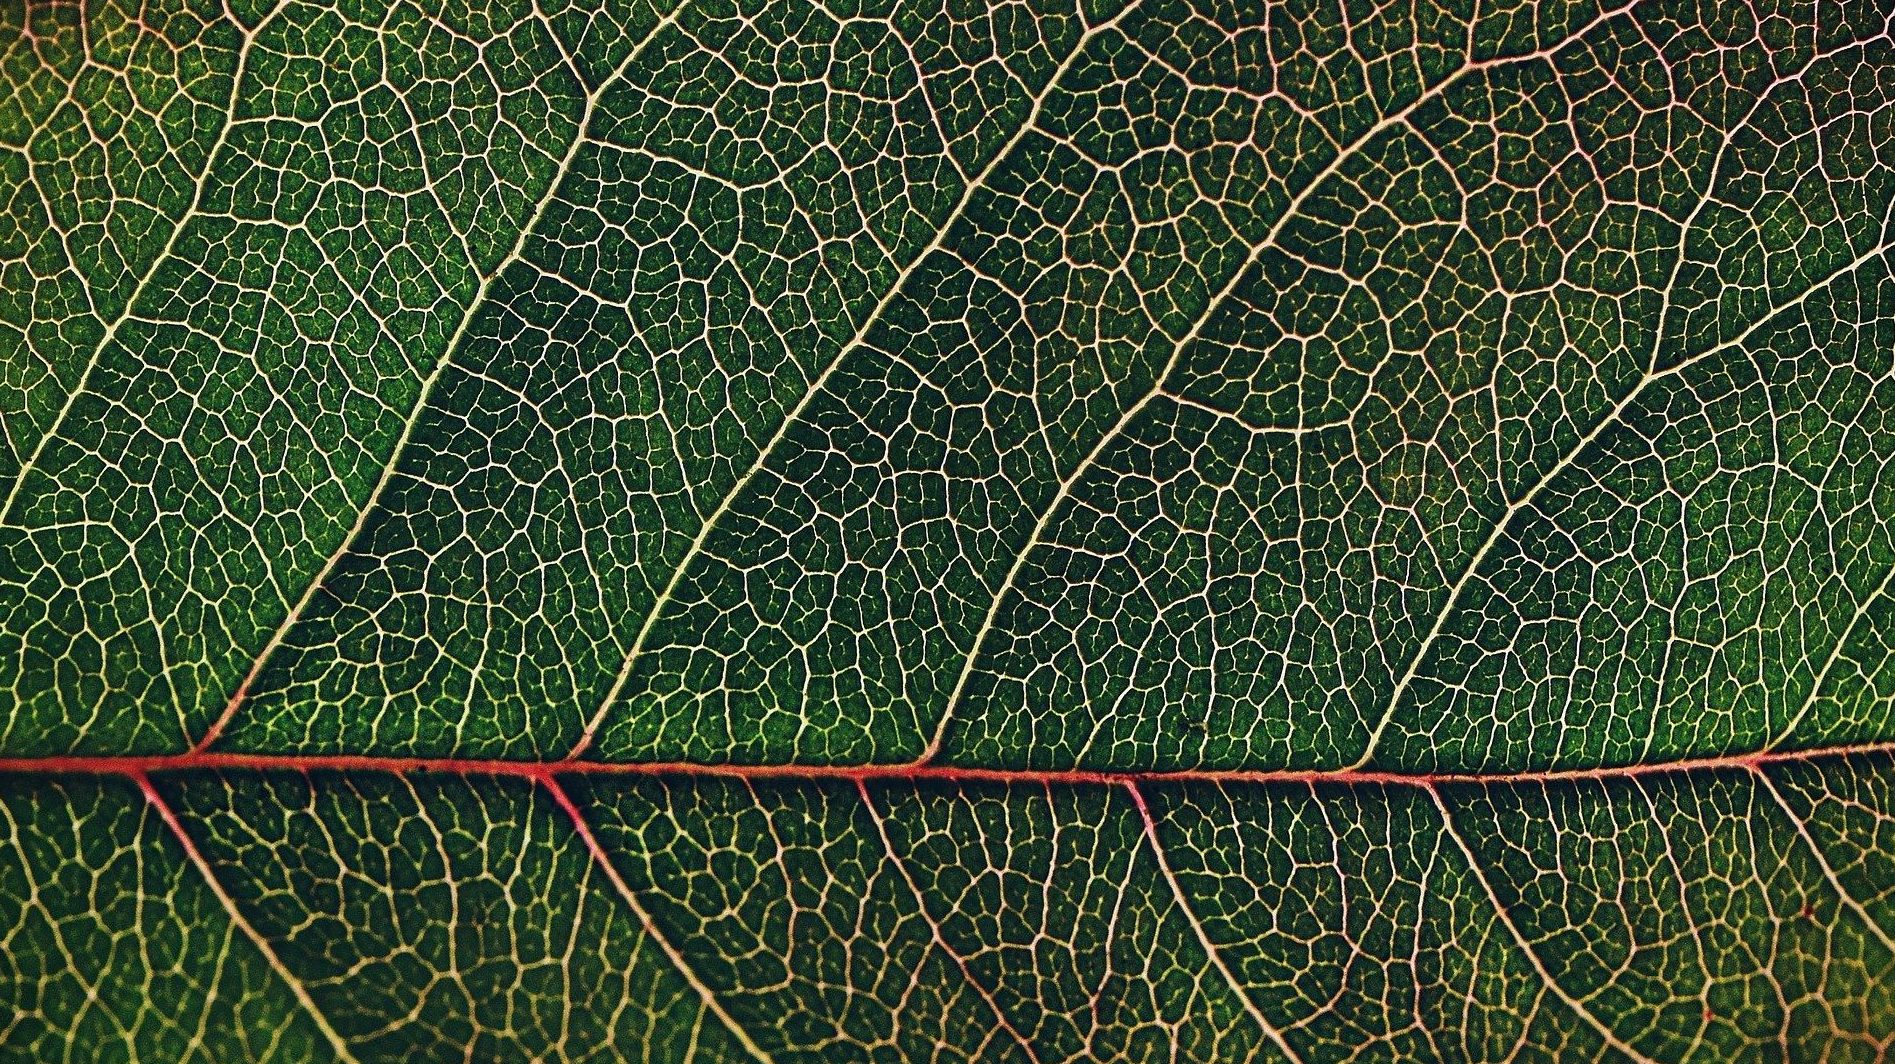
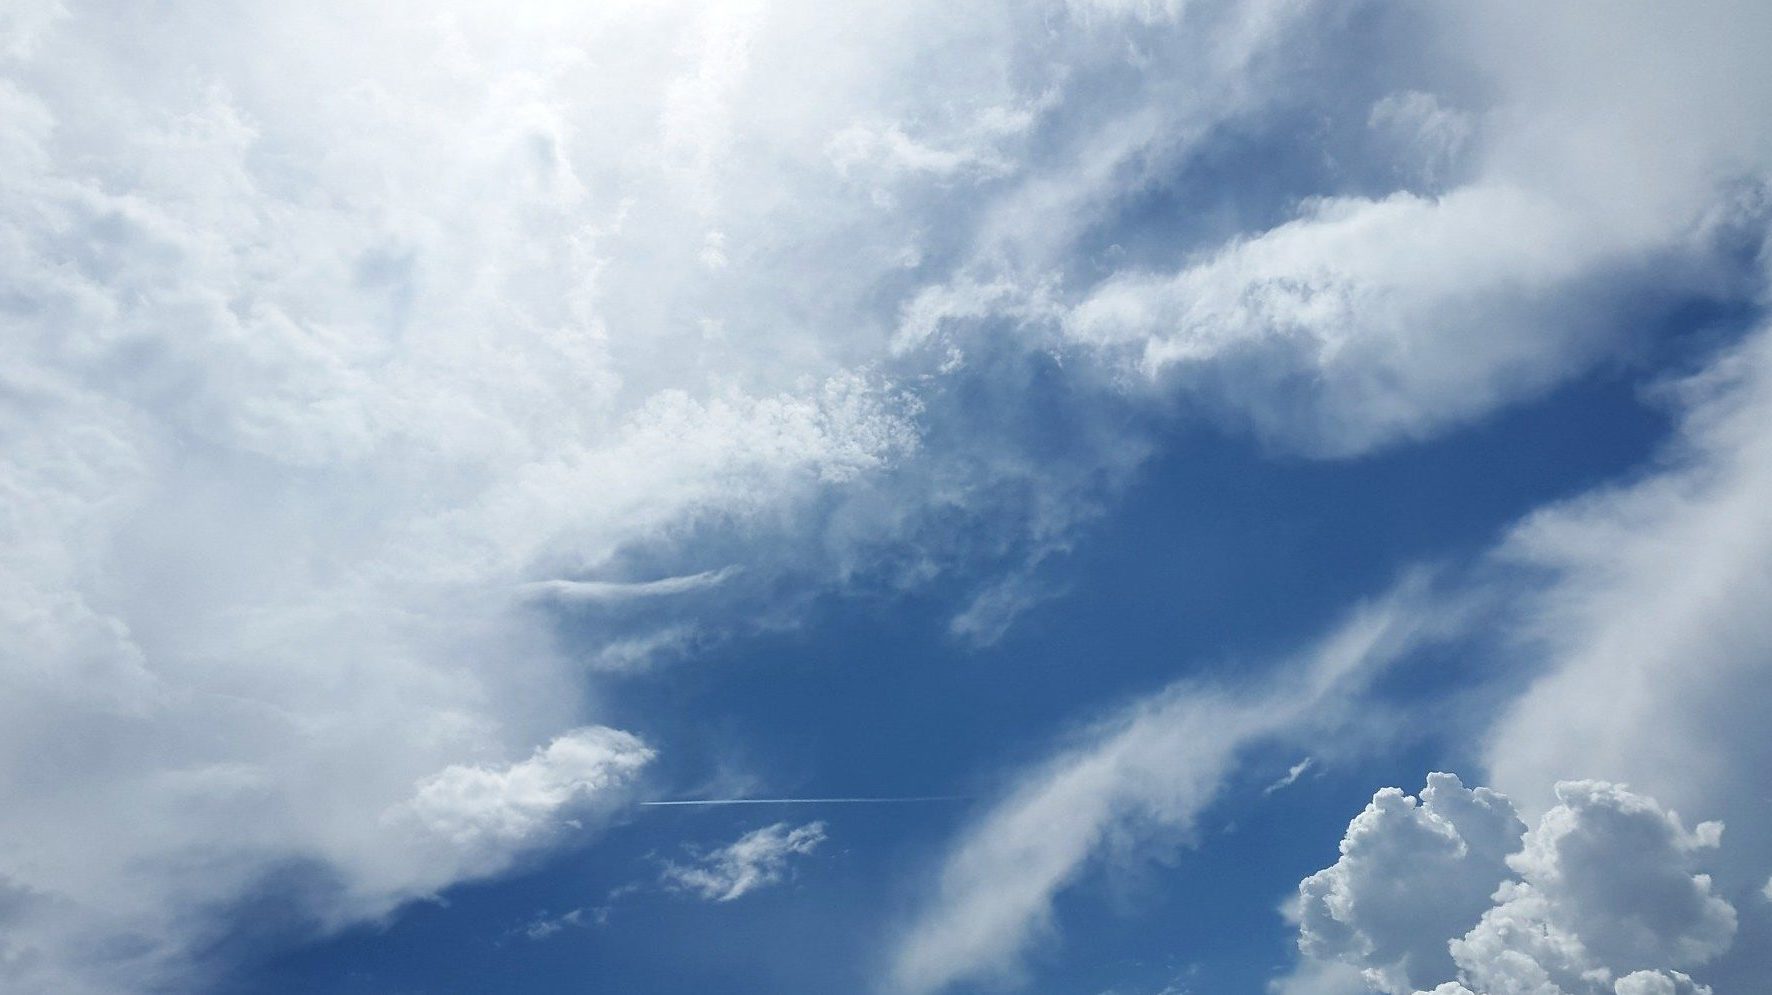
Since it was officially launched, Earth Day has always been a day to bring about awareness of our planet’s needs – whether it’s climate change, protecting endangered and threatened species, or cleaning the ocean. Over one billion people around the world come together every year to rally for change, advocacy, education, and further awareness about our shared planet.
In celebration of Earth Day 2020, we’re looking back at how this day came to be, while also looking ahead to today’s 50th anniversary milestone, and beyond!
History of Earth Day
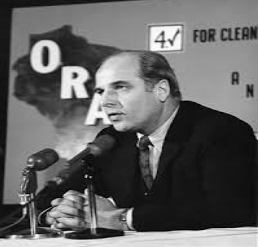
The official Earth Day began on April 22, 1970 with U.S. Senator Gaylord Nelson’s idea to start a national day where he could combine anti-war protests and the public consciousness of the air and water pollution and something political could come out of it. This was all due to a massive oil spill in Santa Barbara, California in 1969, and he wanted the environment to get on the national political agenda. Gaylord Nelson then created a team where Pete McCloskey, a Republican Congressman, to serve as his co-chair and a man named Denis Hayes to serve as his national coordinator. Hayes then recruited 85 people to promote events across the nation.
The team chose April 22 as the day to rally because it was between spring break and final exams for college students. Around 20 million people in America protested about the deterioration of the environment and wanted to start making a change. The first Earth day made such an impact that led to political change and to the creation of the United States Environmental Protection Agency and the passage of the clean air, clean water, and endangered species act.
As Earth Day 1990 was approaching, a bigger change was about to happen. Denis Hayes was approached by a group of environmental leaders to help promote Earth Day globally. That year more than 200 million people from 141 countries came together to promote recycling efforts. This year was also the year that Senator Nelson was given the Presidential Medal of Freedom from President Bill Clinton for his efforts to affect change in the world. With the mark of the new millennium, it allowed for the internet to become a bigger force in rallying more people to help make the change for the environment.
Earth Day Today
Now, Earth Day is widely celebrated each year. Earth Day events are planned in major cities to help bring people together to make a change on this day. Whether it is planting a tree at your school or learning about energy saving techniques one small thing that a child or parent can do to help protect the Earth can make a major impact. Each year since it first began, the day has seen participation of around 1 billion people from 191 countries!
This year’s focus on the 50th anniversary of Earth Day is climate action. To celebrate while responsibly social distancing, Earth Day organizers have launched a 24 hour digital action plan to bring about awareness about this year’s theme and the important conversations surrounding.
“While Earth Day may be going digital, our goal remains the same: to mobilize the world to take the most meaningful actions to make a difference.”
Earth Day Everyday
While Earth Day itself falls on April 22, everyday is Earth Day. Learn more about how you can get involved today and everyday by visiting www.earthday.org.
Continue Reading