Post written by Linda Moore, Curator of Collections
Sip and Stitch At-Home Edition: Your True Colors Suffragette Sash Project
Woman working to get the right to vote in the 19th and early 20th centuries faced a tricky problem: how could they influence the vote to get the vote without the vote? Savvy suffragettes recognized that optics matter, and set out to shape the images of their movement to convey its strength. At the same time, many activists felt they had to be careful to avoid any appearance that could be dismissed as emotionally unstable, hysterical, or even unwomanly.
The suffragette sash, which appeared first in Britain and was quickly adopted by the American suffragist movement, seemed to have walked that line, and stands out today as emblematic of the movement. Sashes bore the traditional colors of the American National Woman’s Party: purple for loyalty and unswerving steadfastness to a cause, white for purity, and gold as the color of light and life “as the torch that guides our purpose, pure and unswerving”.
Here is your chance to express you own “unswerving” devotion to the right to vote: use these instructions and your own creativity to create a sash you’ll be proud to wear!

Materials
To make stripes in the traditional white, purple, and gold you will need 2 strips of each that are the length you want your sash to stretch, from your shoulder across your body –from 34 to about 40 inches. If you are buying fabric by the yard, the most economical way to get that is to buy:
- ¼ yard of each of the 3 colors
You’ll also need:
- Thread
- Sewing machine (or a good chunk of time for hand stitching)
- An iron
- Extra scraps of fabric and interfacing if you want to applique your message; you can also use embroidery, iron-on lettering, or fabric paint
Instructions:
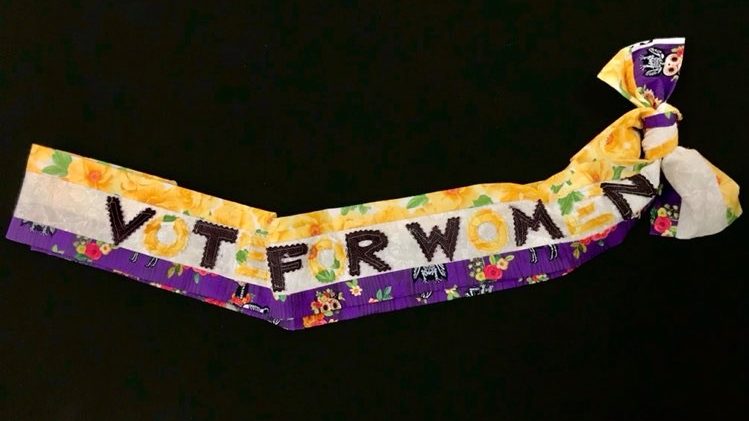
- Cut 2 2.5” wide strips of white fabric (or whatever you are using as the center band of your sash) and 2 3.5” wide strips of each of your colors.
- Putting the right sides of your fabrics together, sew one colored strip of fabric to each side of one white band, along the long edge, stitching ¼” from the edge. Repeat for the other set of strips. You should have 2 identical, long strips, with the white bands in the middle.
- Use an iron to press the seam allowance away from the center band.
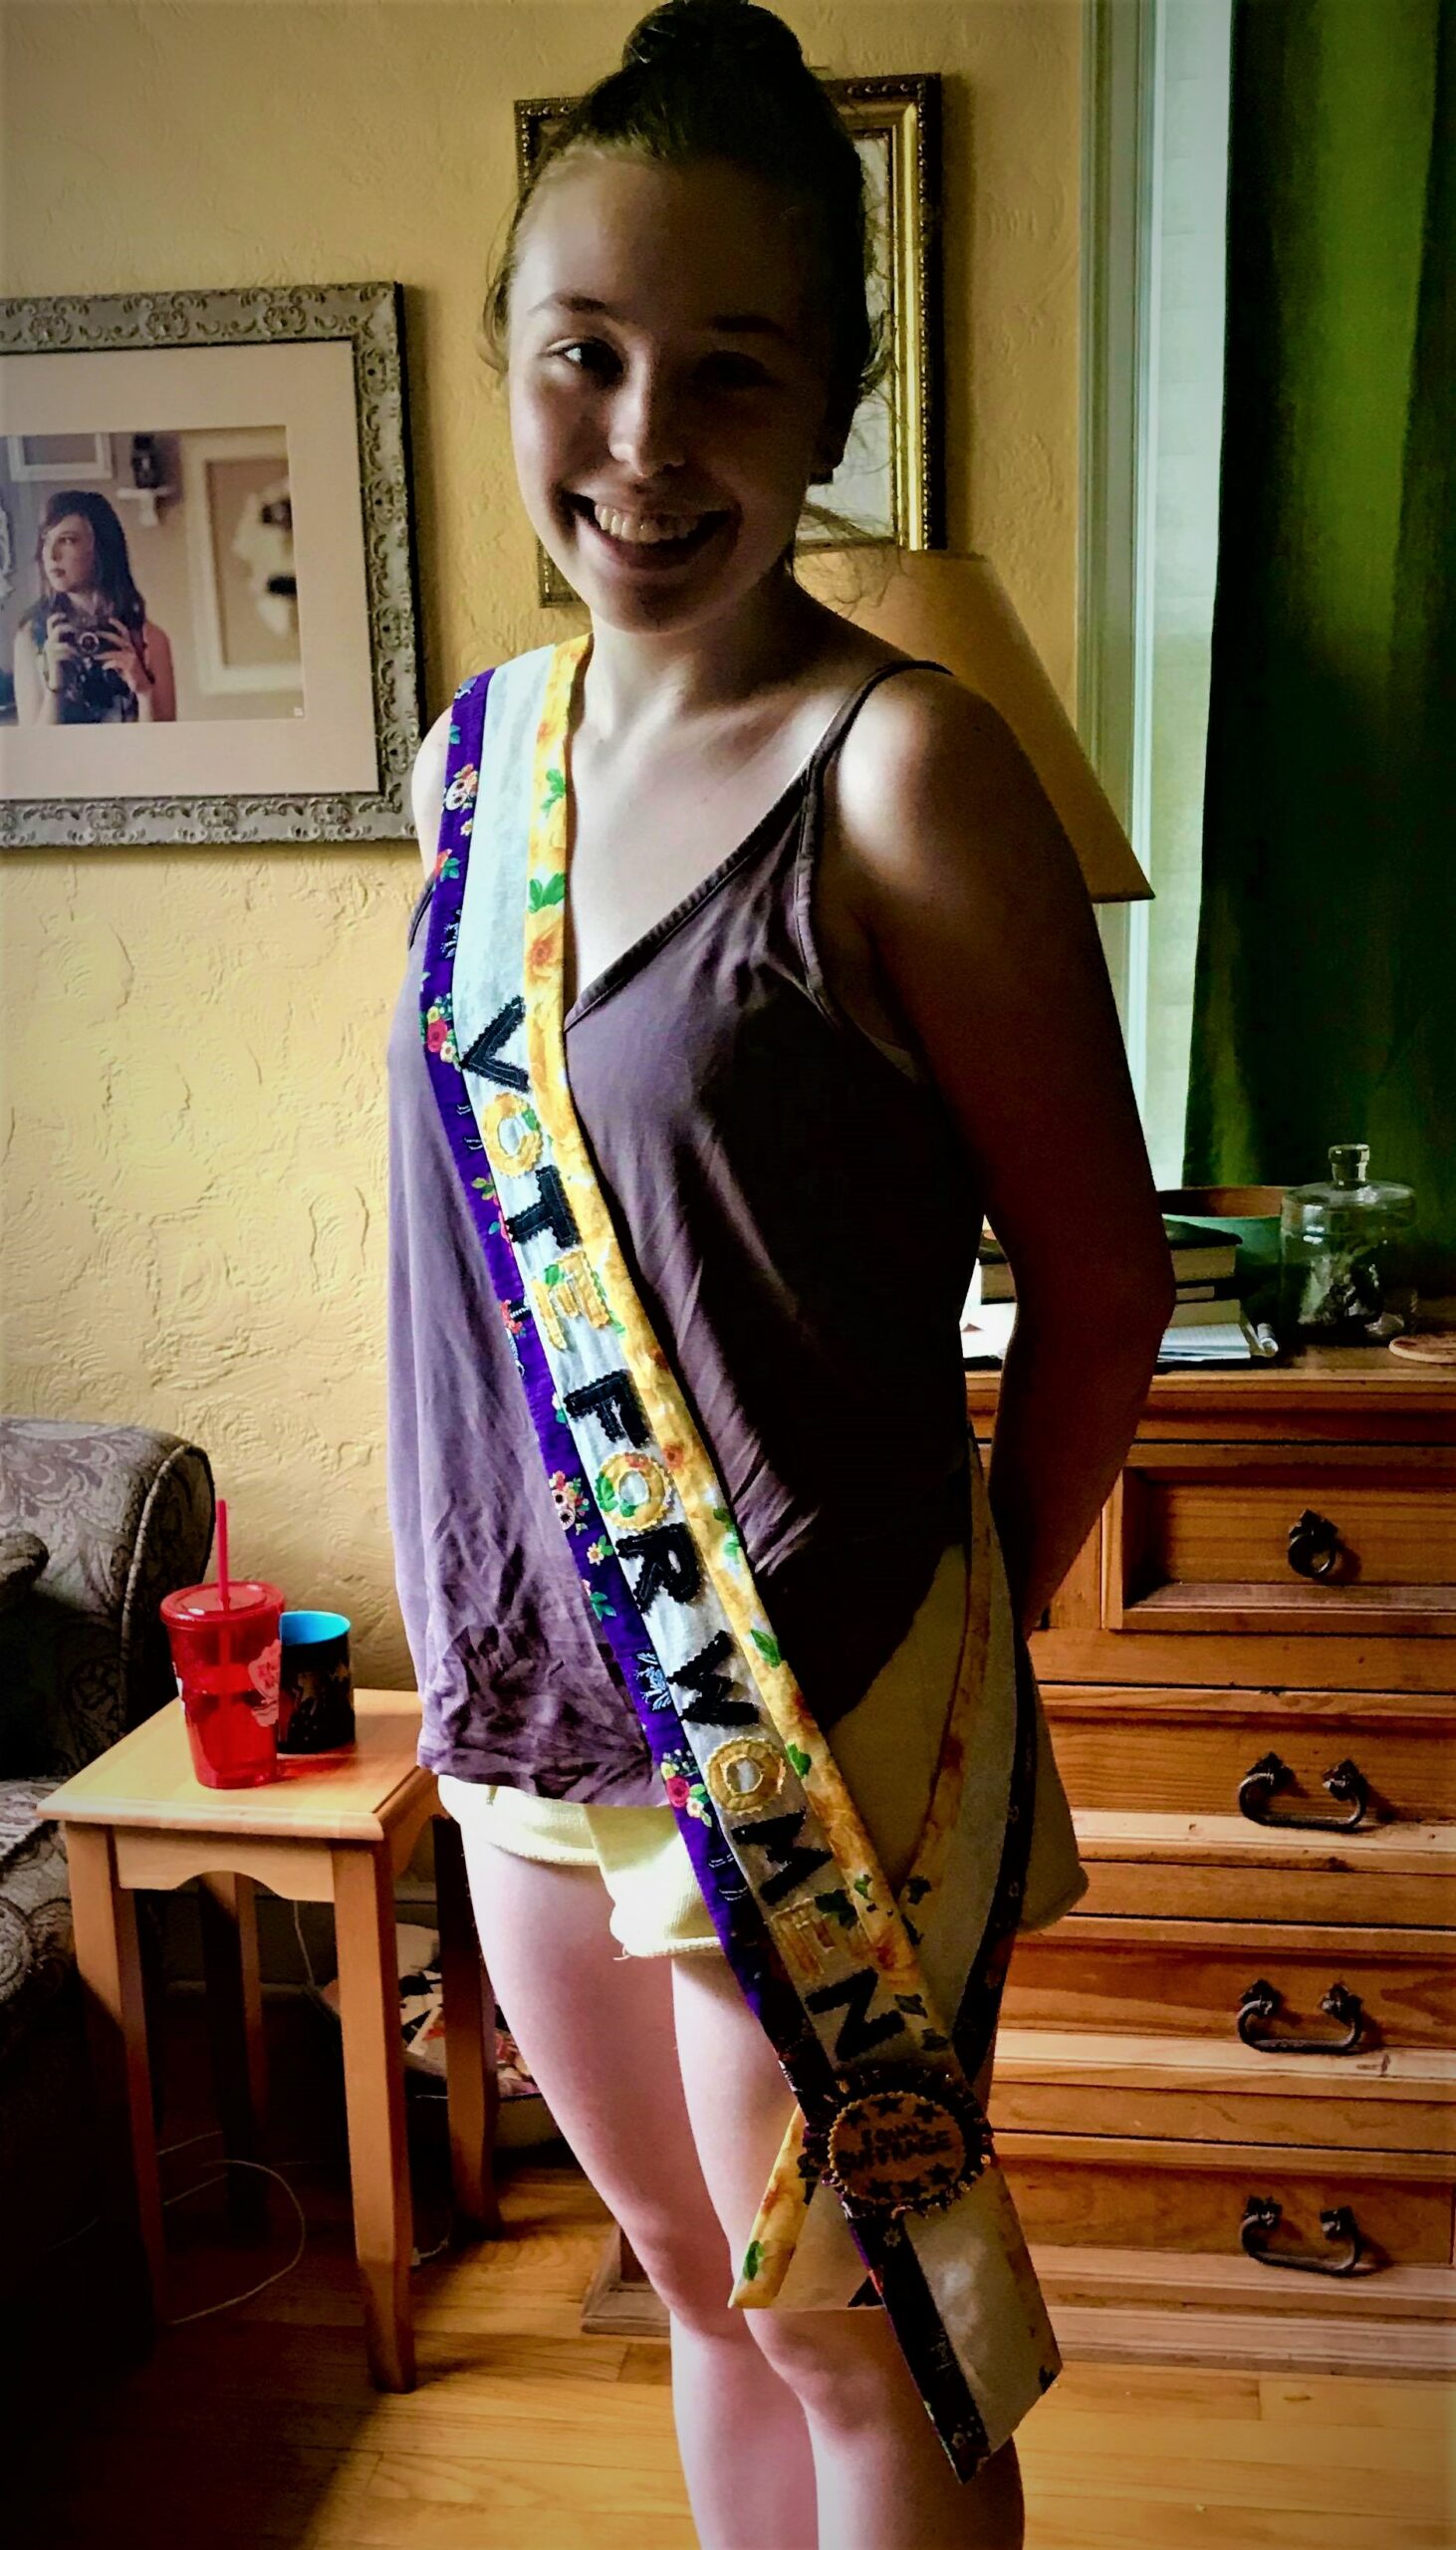
- This is the point when you should add your message. I backed scraps of fabric with interfacing (to prevent raveling) and cut out letters with pinking shears; then stitched them on. Your message will be whatever you choose, of course –it’s your right! But if you use fabric paint be sure to put paper or cardboard under your fabric in case the paint bleeds through.
- Now you sew your 2 wide strips into 2 tubes: with right sides together, fold each strip in half long-ways, joining the edge of each color. Stitch the long edges together.
- Press your inside-out tubes flat so that one side has the white band in the center and a color on each side, and the other side has the 2 colors only. Sew the bottom short edges closed. Then turn both tubes right-side out and press again.
- Almost done! A fussy bit that will make your sash sit nicely on your shoulder is to cut the short edges that are still open at a slight angle, sloping down from the left corner to the right. Finish these cut edges with a zigzag stitch to prevent raveling. Now put the right sides (with the white bands together and sew these cut edges together. Flip them over and the seam should form a gentle point that will sit nicely on your right shoulder.
- Put on your sash and join the open ends at your hip –either by tying them together or by pinning them with an appropriate political button.
- Now you are ready to march!
(P.S. Don’t forget to vote before 7:00pm on November 3, 2020!)

