Post written by Charlotte Conway, Public Programs Coordinator.
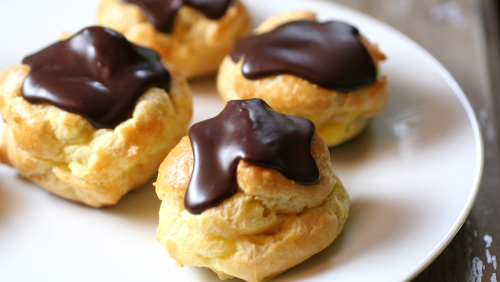
Daily Discovery: Baking with History – Mrs. Budrow’s Cream Puffs
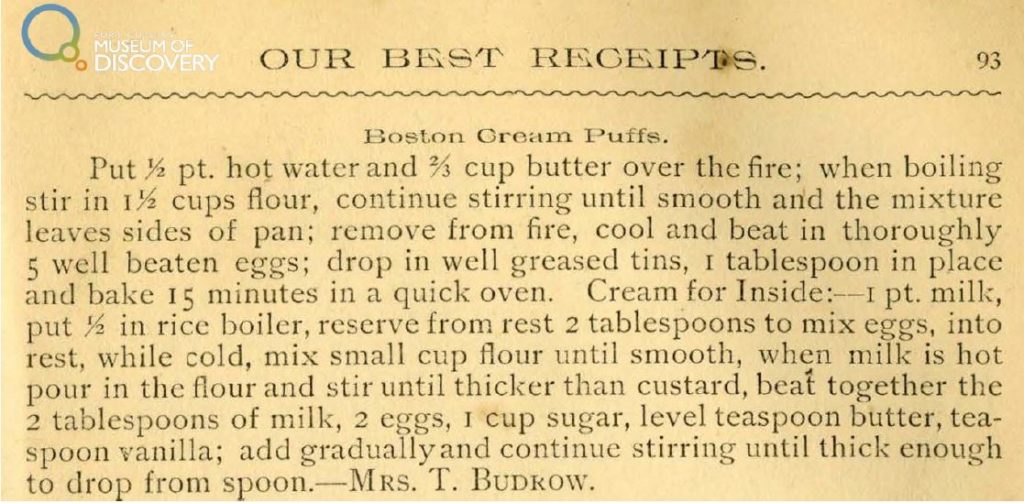
Mrs. Budrow’s Boston Cream Puffs recipe comes from a cookbook called Our Best Receipts. The women of the First Baptist Church of Fort Collins, Colorado published the book in 1896. Filled with recipes developed by locals, advertisements for markets, medicines, and “toilet goods,” as well as information about the state agricultural college – what we now call Colorado State University!
Read about Caroline Budrow and grab a parent to try out her recipe!
Mrs. Budrow’s Boston Cream Puffs Recipe
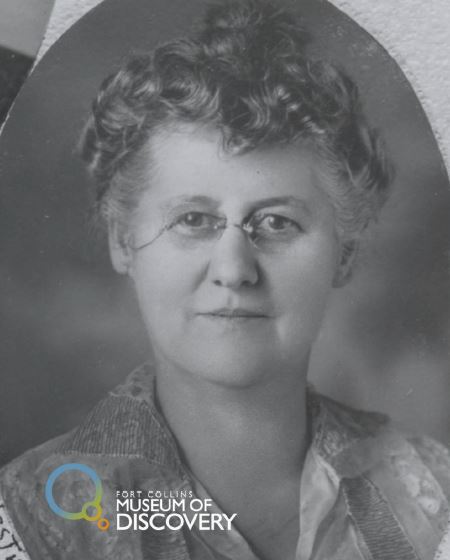
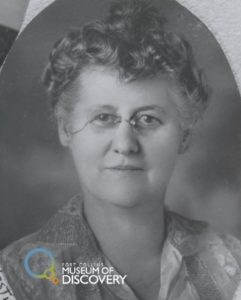
Caroline (Carrie) Gamble married James Theodore Budrow in 1882 and they lived in Fort Collins for many years, where James was a county clerk and in the real estate business. They had three children, and eventually moved to Hollywood, California where they managed an “apartment hotel.” Caroline died in 1940 in California, and James died in 1943 in Pennsylvania. Carrie was involved in the Columbian Club and other civic affairs in Fort Collins. She’s often mentioned in the society pages from the old Fort Collins newspapers, entertaining guests or attending luncheons.
Want to download these directions? Click here for a handy PDF!
Follow along with our Daily Discovery! Click here for all activities that you can do at home.
Image credit: foodonthefood.com
Traducido por Károl de Rueda y Laura Vilaret-Tuma.
Descubrimiento en casa: Recetas con historia – Bocaditos de nata por la Señora Budrow
La receta para bocaditos de nata, de crema, o “boston cream puffs” de la Sra. Budrow, se descubrieron en un libro de cocina titulado Our Best Receipts (Nuestros mejores recibos). Las mujeres de la primera iglesia baptista de Fort Collins, Colorado, publicaron este libro en el año de 1896, y está compuesto de recetas desarrolladas por la población local, y también de anuncios para mercados, medicinas, y artículos de tocador. También contiene información sobre el Colegio Universitario de Agricultura de Fort Collins –mejor conocido hoy en día como Colorado State University, o CSU.
Lee sobre Caroline Budrow y, con la ayuda de un adulto, ¡prueba su receta!
La historia de la Sra. Budrow y su receta de los bocaditos de nata
Caroline (Carrie) Gamble se casó con James Theodore Budrow en 1882 y vivieron en Fort Collins por muchos años. Durante este tiempo, James fue un empleado del condado y también trabajó en el negocio inmobiliario. Tuvieron tres hijos y eventualmente se mudaron a Hollywood, California, donde fueron los administradores de un complejo de apartamentos. Caroline falleció en el año de 1940 en California, y James en 1943 en Pennsylvania. Carrie estuvo muy involucrada en el Columbian Club (un club para mujeres) y en otros asuntos cívicos en Fort Collins. Era a menudo mencionada entre las páginas de sociales en periódicos antiguos locales; usualmente estaba entreteniendo invitados o asistiendo a banquetes.
Receta original para hacer bocaditos de nata por la Sra. Budrow:
Para hacer la masa:
Pon a calentar 1 taza de agua junto con 2/3 tazas de mantequilla. Cuando estén hirviendo, agrégale 1 ½ tazas de harina de trigo y mezcla. Continúa mezclando hasta que se convierta en una masa uniforme y no se pegue a los lados de la olla. Retírala de la estufa y déjala enfriar. Agrégale 5 huevos batidos y mezcla hasta que estén completamente incorporados en la masa. Haz unas bolitas y colócalas sobre una bandeja bien engrasada. Hornea por unos 15 minutos a 190ºC (375ºF). *
Para hacer la nata:
La nata o crema requiere 2 tazas de leche. Pon a calentar la mitad de la leche, y reserva 2 cucharadas de esta para agregárselas a los huevos. Obtén una taza pequeña de harina, y viértela sobre la leche caliente, revolviendo hasta que la mezcla esté más densa que una crema. Aparte, bate 2 cucharadas de leche con 2 huevos, 1 taza de azúcar, una cucharadita de mantequilla, y una cucharadita de vainilla. Agrega gradualmente a la crema y continúa mezclando hasta que vuelvas a conseguir una textura cremosa. Cuando enfríe, rellena el pan horneado con nata, ¡y disfruta!
*En esos tiempos, muy pocas estufas eran completamente eléctricas, y por lo tanto no tenían indicadores de temperatura. Estas estufas quemaban madera, y solo panaderos experimentados podrían adivinar la temperatura correcta para hornear. La temperatura de un horno “rápido” o quick oven, como se les solía llamar, se encuentra entre los 190ºC (375ºF) y los 230ºC (450ºF).
¿Te gustaría descargar esta actividad? Haz clic aquí para obtener un archivo PDF.
Para encontrar actividades, ideas y mucho más descubrimiento en casa, ¡síguenos!
Continue Reading